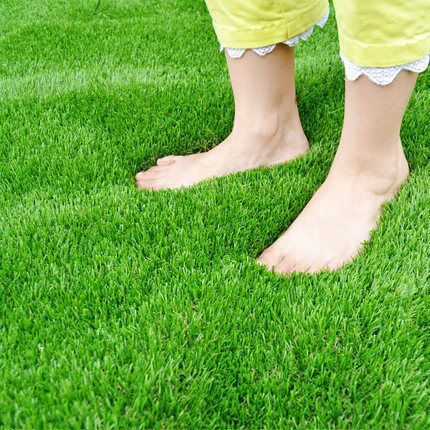
Artificial turf has become a popular alternative to natural grass in various applications, including sports fields, residential lawns, and commercial landscapes. One of the key benefits of artificial turf is its low maintenance requirement, but it still needs to be stretched periodically to maintain its appearance and performance. In this article, we will discuss the importance of stretching artificial turf and provide a step-by-step guide on how to do it effectively.
Why Stretch Artificial Turf?
Stretching artificial turf is essential to maintain its integrity and extend its lifespan. Over time, the turf can become loose and uneven, leading to poor drainage, reduced playability, and an unsightly appearance. Stretching the turf helps to:
1. Improve Drainage: Stretching the turf helps to restore its original shape and promote better drainage. This is particularly important in areas with heavy foot traffic or frequent rain showers.
2. Enhance Playability: A stretched turf provides a more even and consistent playing surface, which is crucial for sports and other recreational activities.
3. Improve Appearance: Stretching the turf helps to remove any wrinkles, folds, or unevenness, resulting in a more aesthetically pleasing surface.
4. Increase Lifespan: Regular stretching can extend the lifespan of the artificial turf by reducing the risk of damage from wear and tear.
Materials and Tools You’ll Need:
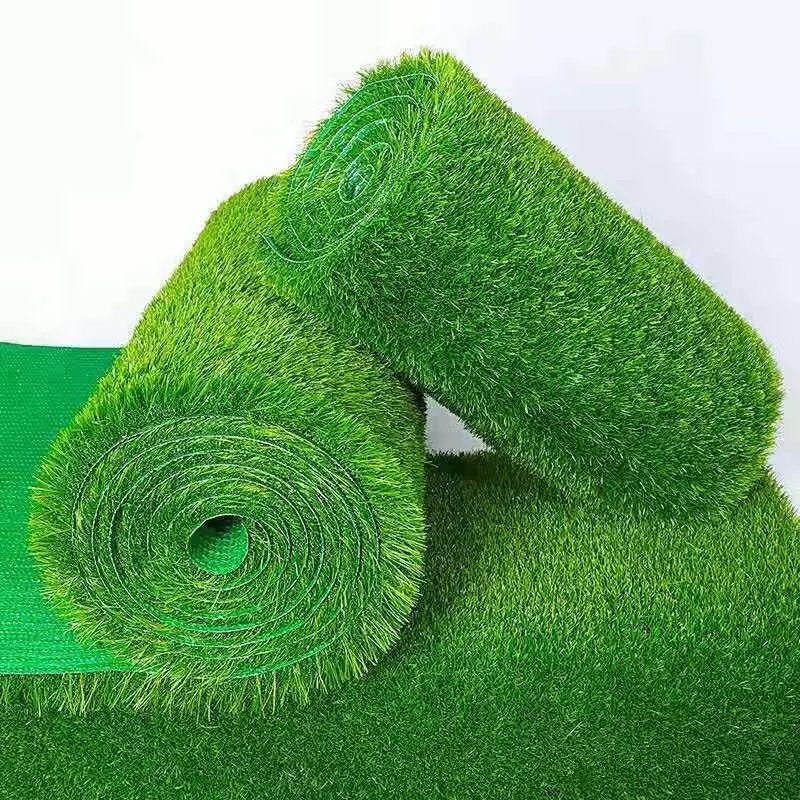
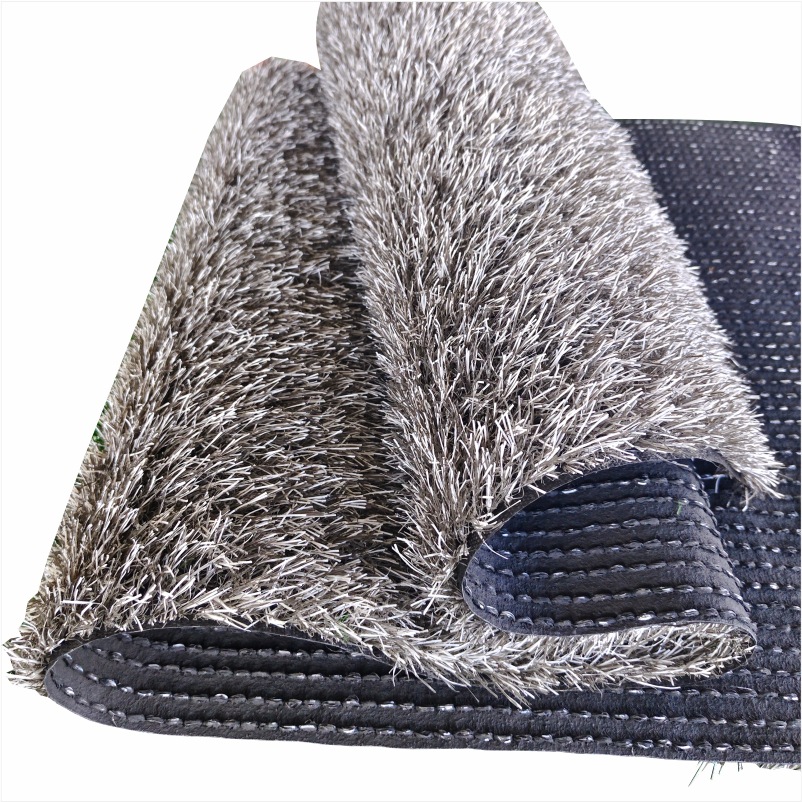
1. Artificial grass
2. Sub-base material (if required)
3. Edging material (if required)
4. Nails or stakes
5. Carpet or seam tape
6. Seaming adhesive
7. Stiff-bristle broom or brush
8. Utility knife
9. Power broom (optional)
Step-by-Step Guide:
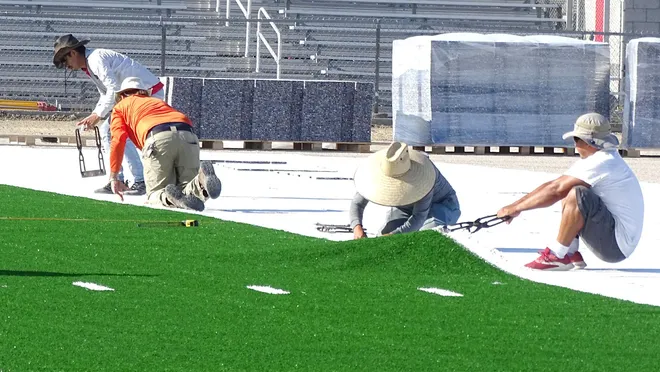
1. Prepare the Base:
– Ensure that the base (which can be compacted soil, decomposed granite, or other materials) is well-prepared, level, and properly graded for drainage. If necessary, use a vibratory plate compactor to compact the base.
2. Roll Out the Turf:
– Unroll the artificial grass over the prepared base. Allow the turf to acclimate to the environment for at least a couple of hours to help minimize expansion or contraction.
3. Trim Excess Material:
– Trim any excess turf that extends beyond the installation area using a utility knife. Be precise, as this will determine the fit of the turf.
4. Align the Seams:
– If your installation requires multiple pieces of artificial turf, ensure that the seams are properly aligned. Use a straightedge or carpenter’s square to check and adjust as needed.
5. Secure the Edging (if required):
– If your installation requires edging, secure it around the perimeter using nails or stakes. Make sure it is flush with the top of the sub-base.
6. Fold Back the Turf:
– Fold back the artificial grass along one edge, creating a gap between the turf and the sub-base.
7. Apply Seaming Adhesive:
– Apply seaming adhesive to the entire length of the seam, following the manufacturer’s instructions. Wait for the adhesive to become tacky.
8. Join the Seams:
– Carefully join the two pieces of artificial grass along the seam, ensuring they are aligned correctly.
9. Press and Seal:
– Press the seam down firmly to adhere it to the adhesive. You can use a carpet roller to help with this. If you’re using seam tape, make sure the tape is centered under the seam. Press down to bond the edges of the turf.
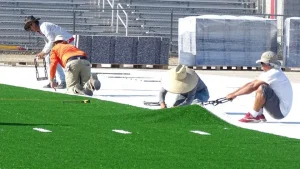
10. Stretch the Turf:
– Starting from the edge opposite the seam, begin stretching the artificial grass towards the seam. Use your hands or a power broom, if available, to push the turf firmly while stretching it. Avoid overstretching, as this can cause the turf to ripple or tear.
11. Secure the Edging (if required):
– If you’re using edging, secure it to the stretched turf to keep it in place and maintain the stretch.
12. Brush the Fibers:
– Use a stiff-bristle broom or brush to brush the fibers of the turf in the direction of the seam. This will help conceal the seam and ensure a natural appearance.
13. Trim the Excess: After stretching, trim any excess turf using a utility knife. Be sure to cut along the edging or perimeter.
14. Regular Maintenance: After installation, it’s essential to maintain your artificial grass regularly to prevent wrinkles, matting, or other issues.
Tips and Tricks
Here are some helpful tips and tricks to keep in mind when stretching artificial turf:
1. Use the Right Tools: Invest in high-quality stretching tools, such as a turf stretcher or stretcher bar, to ensure the job is done effectively and efficiently.
2. Work in Sections: Divide the area into smaller sections to avoid stretching the turf too tightly, which can cause damage to the fibers.
3. Use a Level: Use a level to ensure the surface is even and level, which is particularly important when installing artificial turf on a slope.
4. Check for Wrinkles: Inspect the turf regularly for wrinkles or folds, and address them promptly to prevent them from becoming deep-seated and difficult to remove.
5. Maintain the Turf: Regularly clean and maintain the artificial turf to prevent debris and dirt from accumulating and compromising its integrity.
6. Consider Professional Help: If you’re not comfortable stretching the turf yourself or if the area is particularly large or complex, consider hiring a professional to do the job for you.
Conclusion
Stretching artificial turf is a crucial part of maintaining its performance and appearance. By following the steps outlined in this guide, you can effectively stretch your artificial turf and ensure it remains in great condition for years to come. Remember to use the right tools, work in sections, and maintain the turf regularly to maximize its lifespan and enjoyment.