Installing artificial grass can transform your space into a beautiful and low-maintenance area. Here’s a step-by-step guide on how to put down artificial grass:
Tools and Materials You’ll Need:
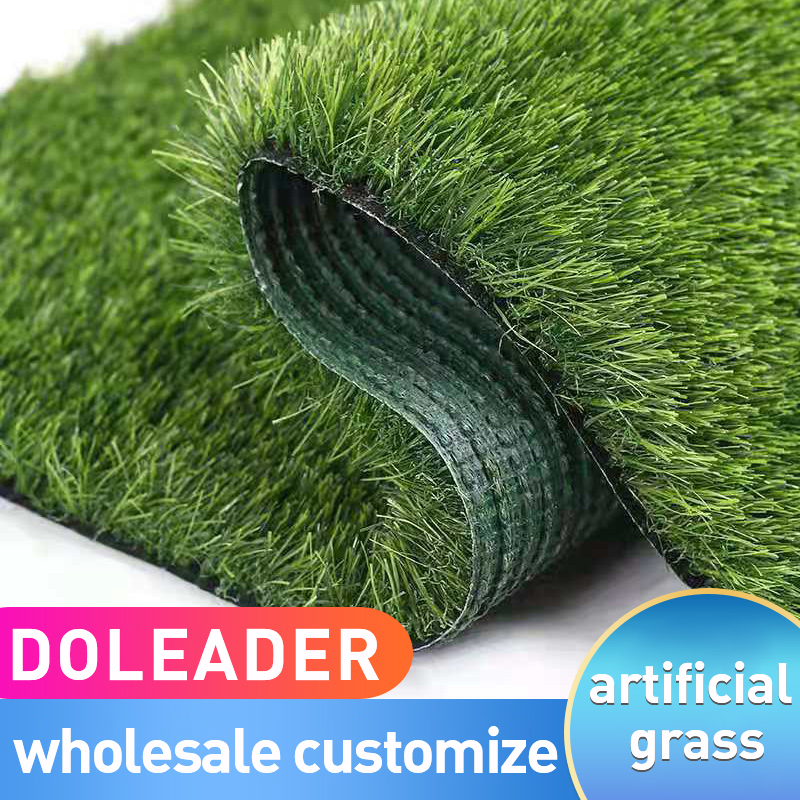
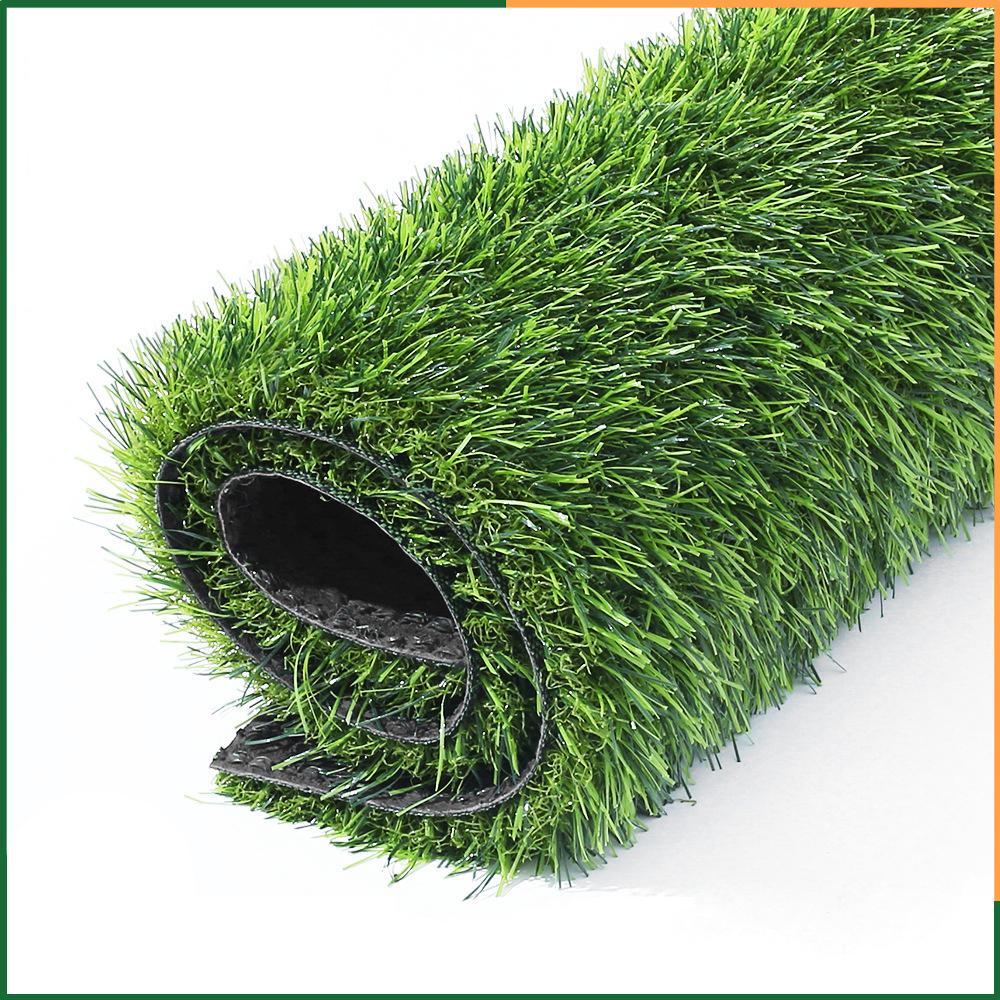
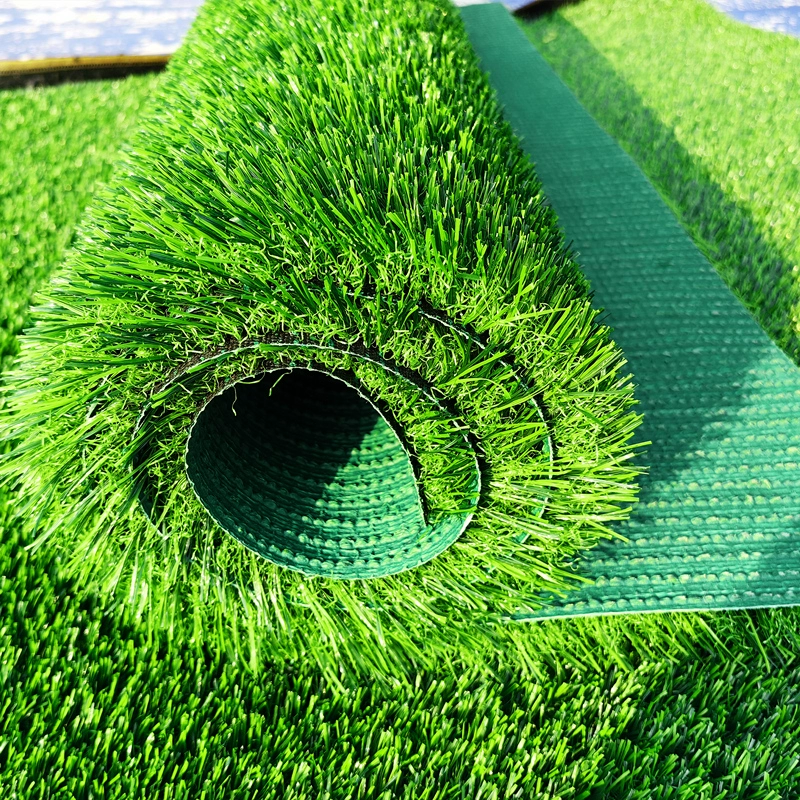
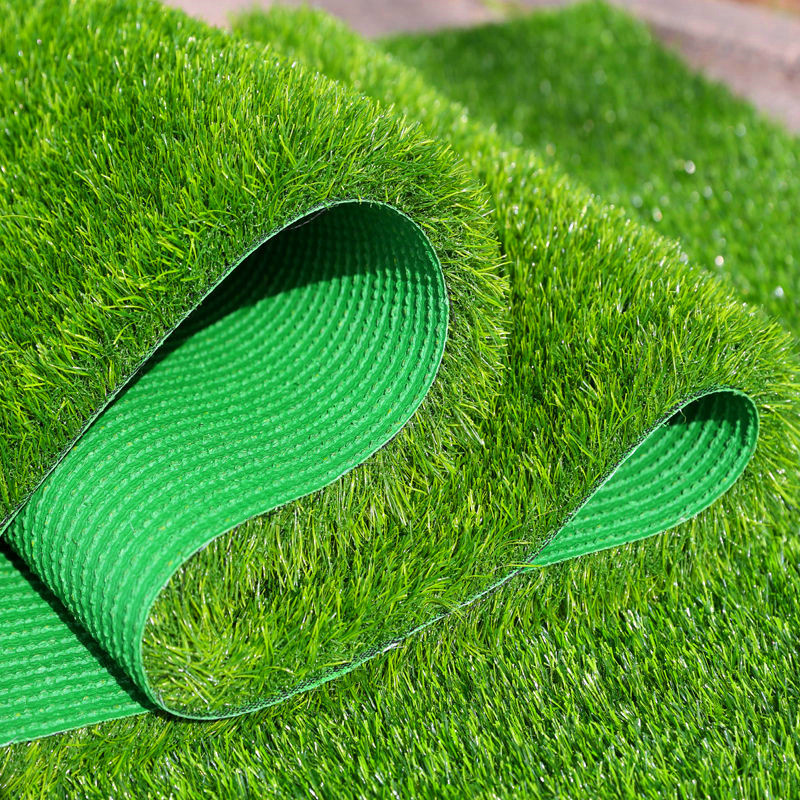
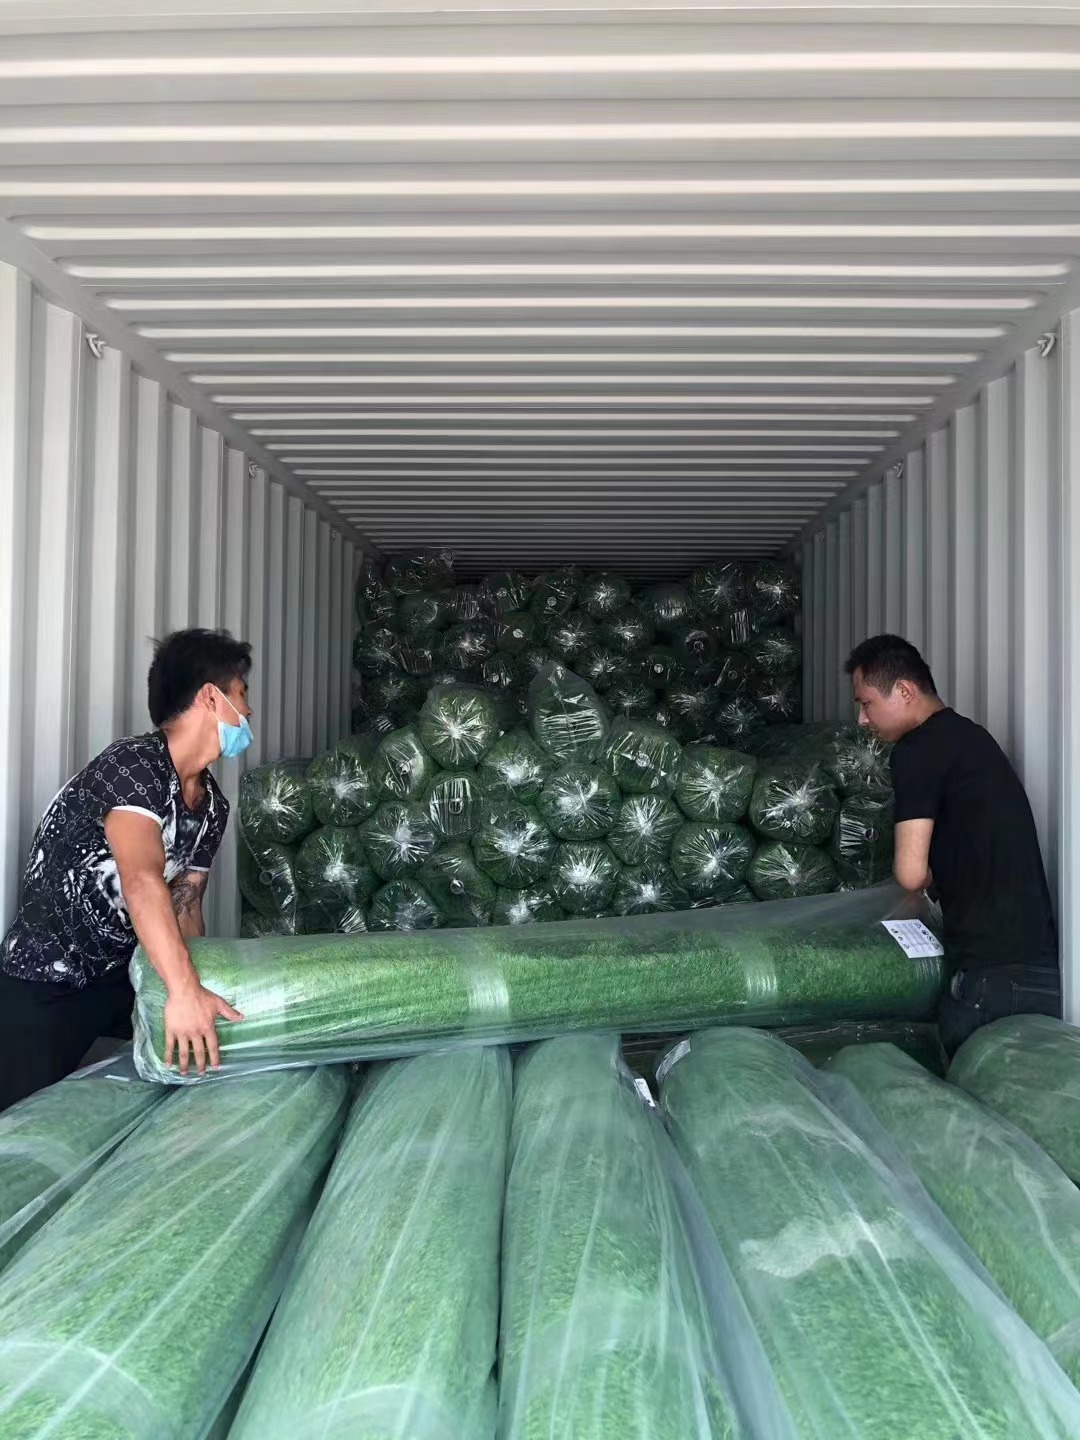
– Artificial grass
– Weed barrier fabric
– Crushed rock or sand (for base)
– Edging material (if needed)
– Adhesive/glue (if needed)
– Utility knife
– Rake
– Shovel
– Tamper
– Broom
– Nails or staples
– Measuring tape
– Infilled material (sand or rubber granules, if needed)
Steps:
1. **Preparation:**
– Clear the area: Remove any existing grass, weeds, debris, or rocks from the area where you’ll install the artificial grass.
– Grade the surface: Ensure the ground is relatively flat and slopes away from buildings to allow for proper drainage.
2. **Base Preparation:**
– If the ground is hard soil, compacted dirt, or concrete, consider adding a layer of crushed rock or sand to create a stable base. This helps with drainage and provides a level surface.
3. **Weed Barrier:**
– Lay down a weed barrier fabric over the prepared base. This helps prevent weed growth through the artificial grass.
4. **Artificial Grass Layout:**
– Roll out the artificial grass over the area and let it acclimate for a few hours, so it settles and relaxes.
– Trim the edges if needed using a utility knife. Ensure the grass fits the area perfectly.
5. **Securing the Edges:**
– If needed, use an edging material to secure the perimeter of the artificial grass. This prevents it from shifting and provides a clean edge.
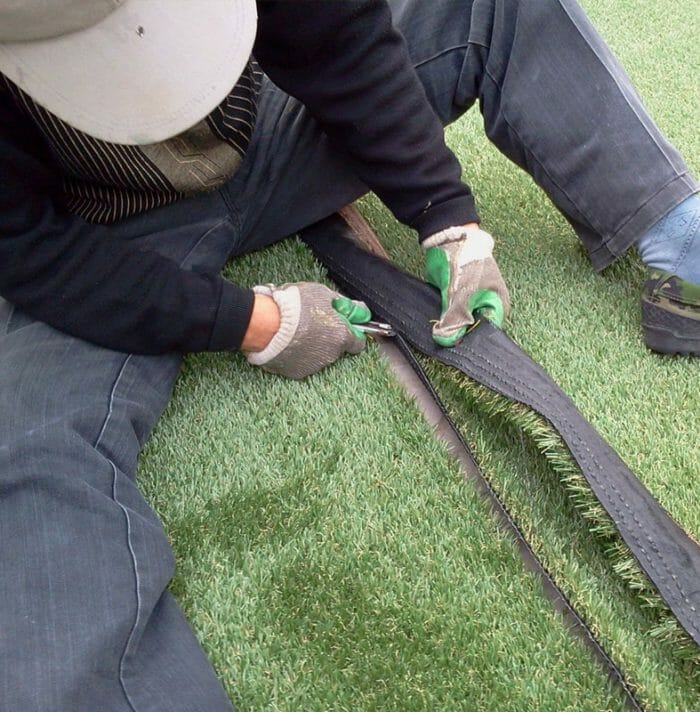
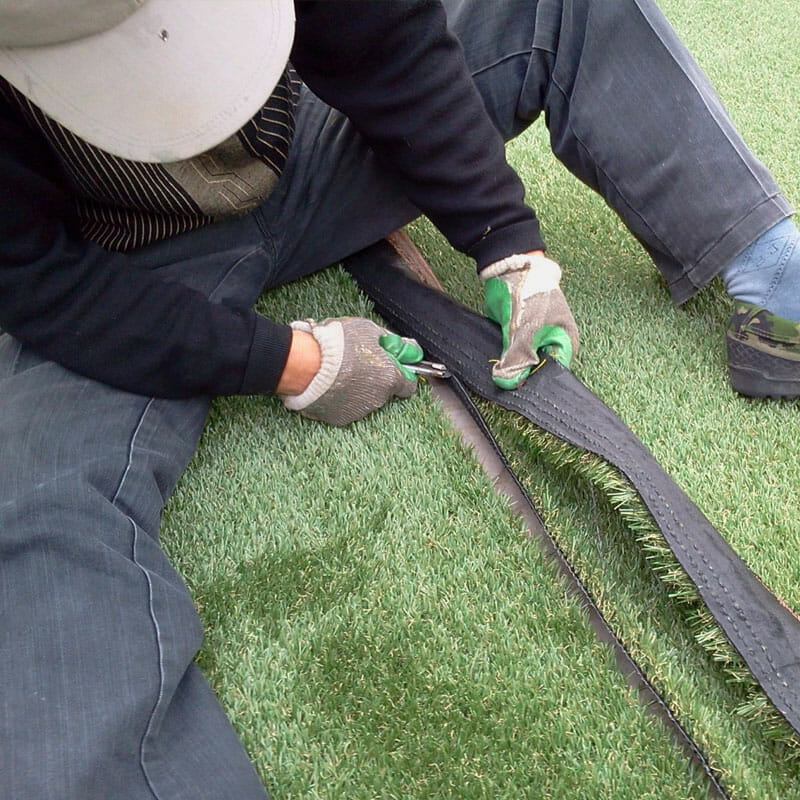
6. **Joining Seams:**
– If you have multiple rolls of artificial grass, you’ll need to join the seams. Fold back the edges and use seam tape and adhesive/glue to attach the pieces. Make sure the fibers are facing the same direction.
7. **Gluing the Edges:**
– If required, apply adhesive or glue along the edges of the artificial grass to secure it to the base.
8. **Nailing/Stapling:**
– Use nails or staples to secure the artificial grass along the perimeter. Place them about 6 inches apart.
9. **Infill (if needed):**
– Some artificial grass requires infill material, such as sand or rubber granules, to provide stability, cushioning, and support for the fibers. Spread the infill material evenly across the grass using a brush or broom.
10. **Brushing and Grooming:**
– Use a stiff brush or broom to brush the fibers of the artificial grass against the grain. This helps the grass blades stand upright and look more natural.
11. **Watering and Settling:**
– Lightly water the artificial grass to help it settle and flatten. This also helps with infill distribution if you’re using it.
12. **Enjoy Your New Lawn:**
– Once the installation is complete, you can start enjoying your lush, green artificial grass lawn.
Remember that installation methods can vary based on the type and brand of artificial grass you’re using, as well as your specific circumstances. Always follow the manufacturer’s instructions and consider seeking professional help if you’re unsure about any steps in the process.