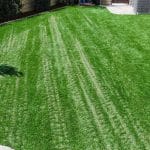
Installing artificial grass can transform outdoor spaces, providing a vibrant and low-maintenance alternative to natural grass. Securing the artificial turf properly is crucial to ensure a long-lasting and well-installed surface. Nailing down artificial grass involves a systematic approach and specific techniques to achieve a secure and stable installation.
Materials Needed:
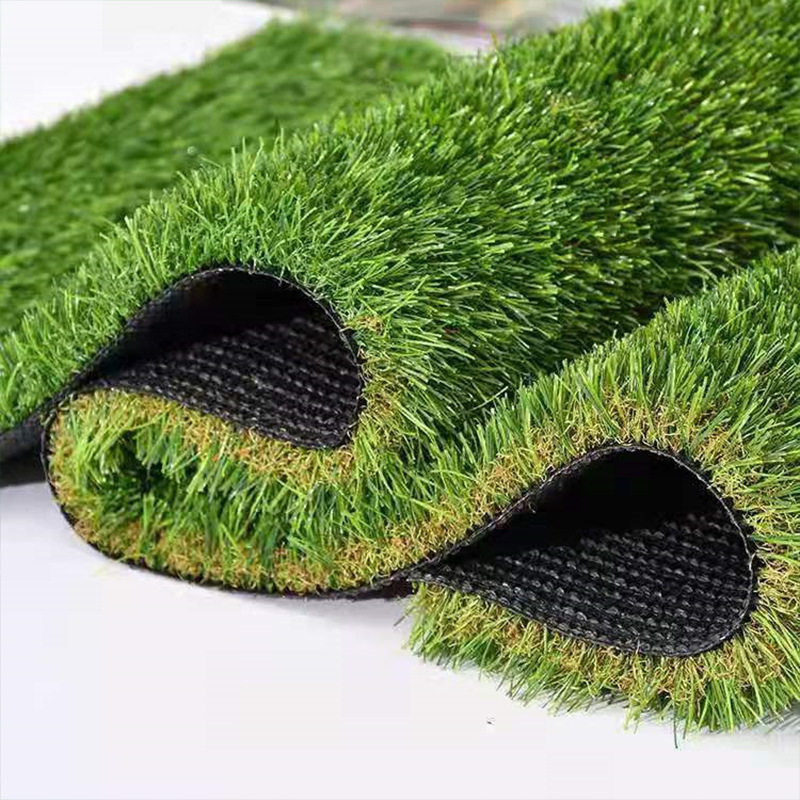
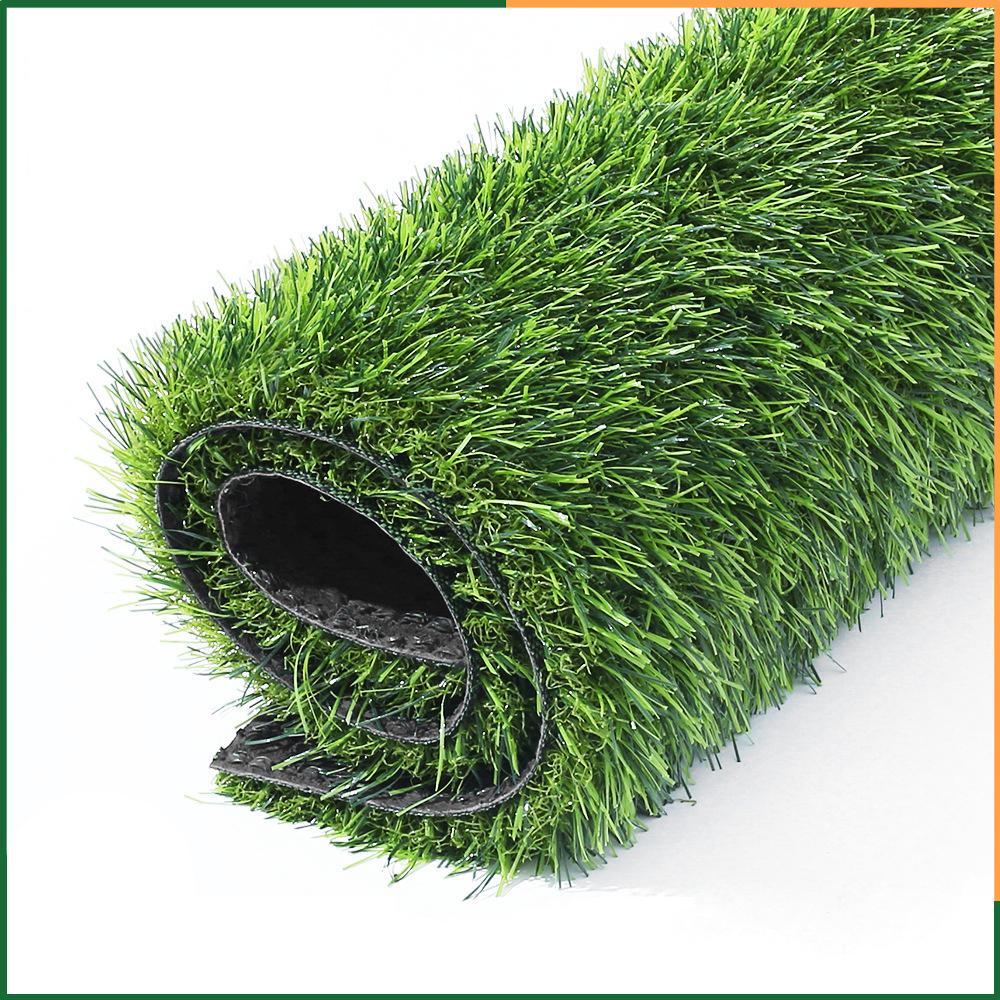
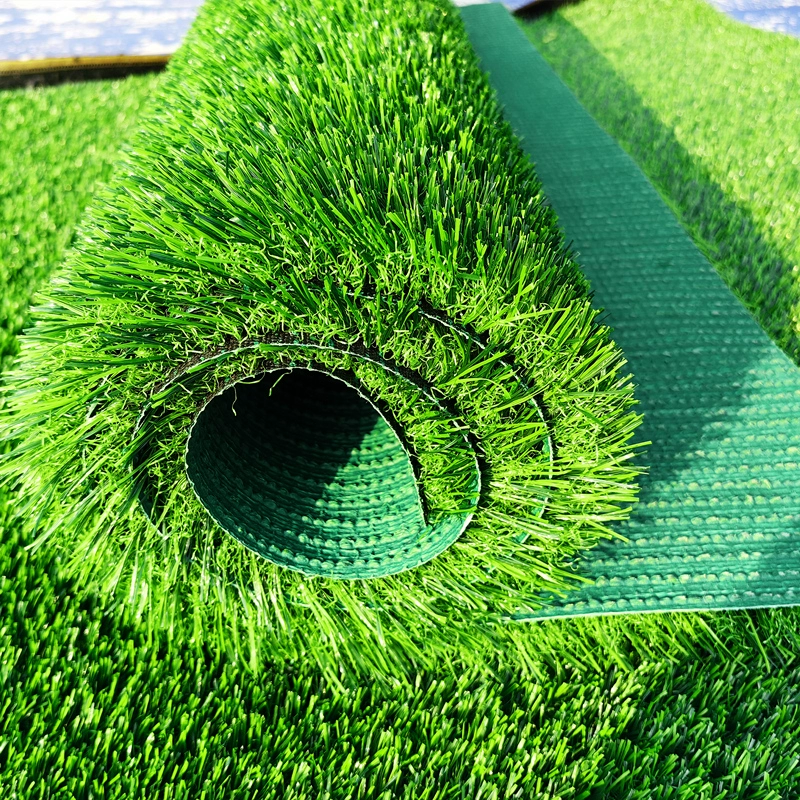
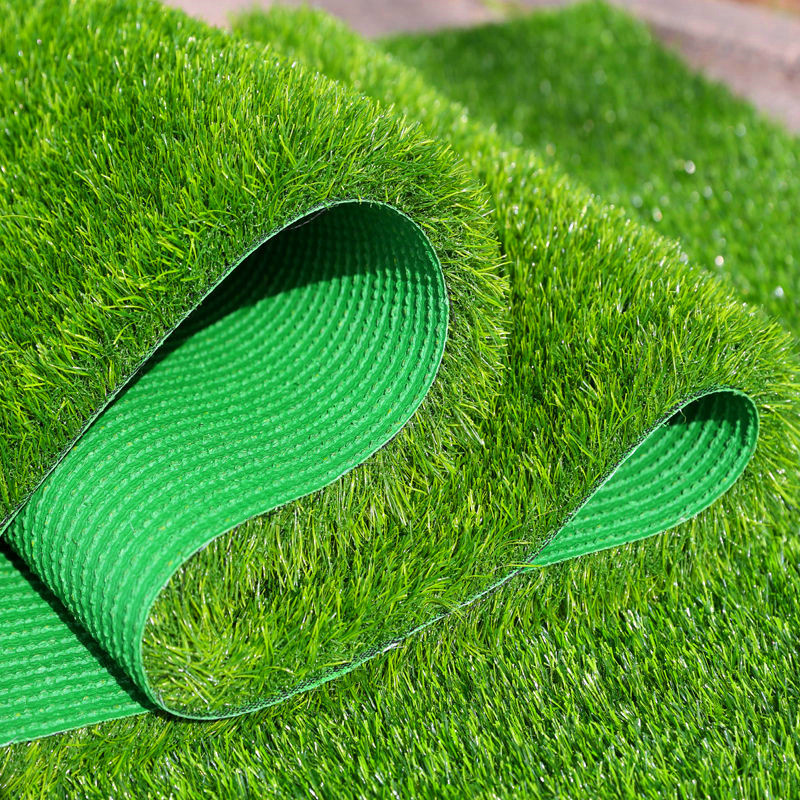
– Artificial grass
– Weed barrier fabric (optional)
– Nails or turf staples
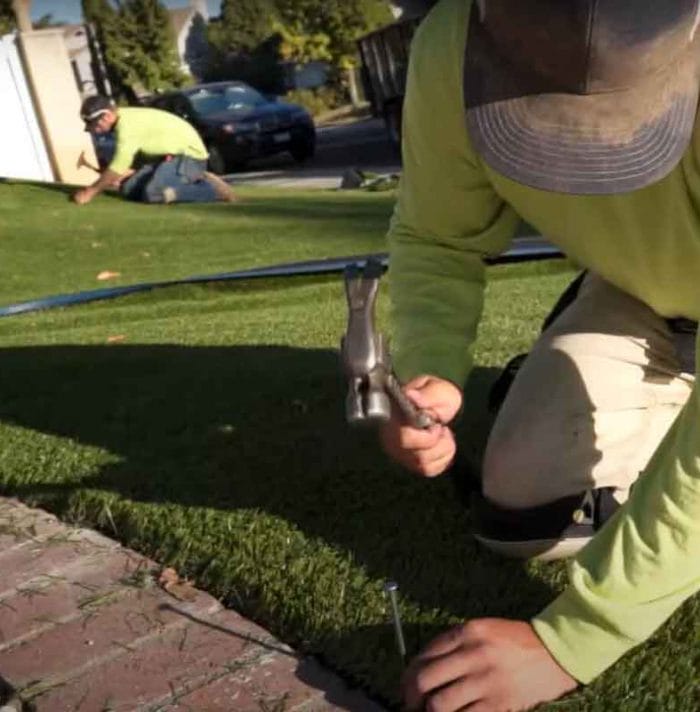
– Hammer or mallet
– Joining tape (if applicable)
– Adhesive (if applicable)
Step-by-Step Guide to Nailing Down Artificial Grass:
1. **Prepare the Area:** Clear the area where you plan to install the artificial grass. Remove any existing turf, rocks, debris, and organic matter. Level the surface and ensure proper drainage.
2. **Lay Weed Barrier (Optional):** To prevent weed growth, you can lay a weed barrier fabric over the prepared surface before installing the artificial turf. This step is optional but can be beneficial in some cases.
3. **Unroll and Position the Artificial Grass:** Carefully unroll the artificial grass over the prepared area. Ensure that the grain of the turf faces the same direction for a natural appearance. Trim any excess turf if needed.
4. **Secure Edges with Nails or Turf Staples:** Start by securing the edges of the artificial grass. Use galvanized nails or turf staples along the perimeter, placing them approximately every 6-8 inches. Drive the nails or staples into the base, ensuring a secure attachment without causing damage to the turf.
5. **Join Multiple Pieces (If Applicable):** If you’re installing multiple sections of artificial grass, use joining tape and adhesive to secure the seams. Apply the joining tape beneath the edges of the turf sections and then apply adhesive over the tape. Press the sections together firmly to create a seamless bond.
6. **Secure Middle Sections:** Once the edges are securely fastened, continue securing the middle sections of the artificial grass. Place nails or staples at intervals along the seams and in the center, approximately every 12-16 inches, ensuring they’re evenly distributed for stability.
7. **Check and Adjust:** After securing the entire turf, walk over the installed area to check for any loose spots or unevenness. If necessary, add more nails or staples to reinforce any loose sections and ensure a smooth surface.
8. **Brush and Fluff:** Use a stiff-bristled brush to fluff up the artificial grass fibers, giving the lawn a more natural appearance and leveling any compressed areas.
Properly nailing down artificial grass is essential for a professional-looking and durable installation. Following these steps diligently ensures that the turf remains securely in place, with minimized risks of shifting or wrinkling over time. Investing time and effort into the installation process ultimately results in a well-maintained and visually appealing artificial grass surface.