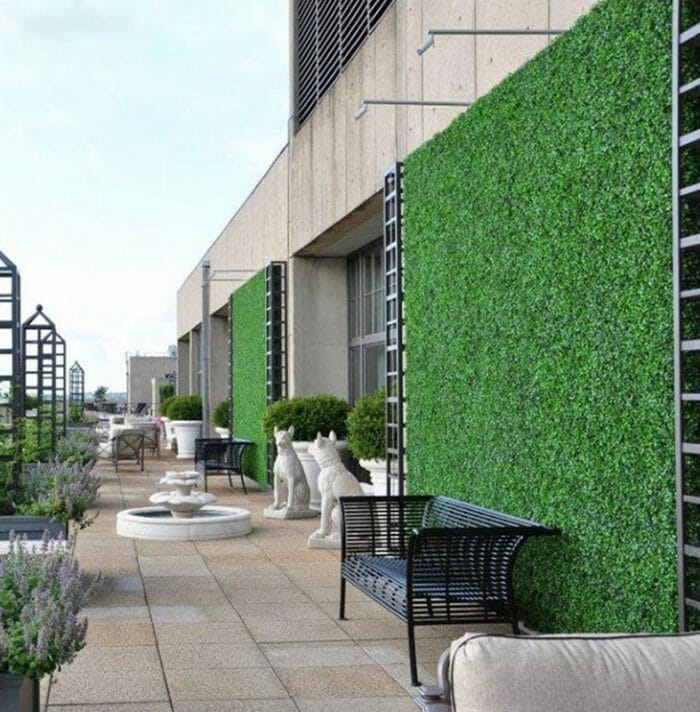
Installing artificial grass on a concrete wall or vertical surface, such as a retaining wall, fence, or outdoor feature, can create a unique and visually appealing green wall or vertical garden. Here’s a step-by-step guide on how to install artificial grass on a concrete wall:
Materials You’ll Need:
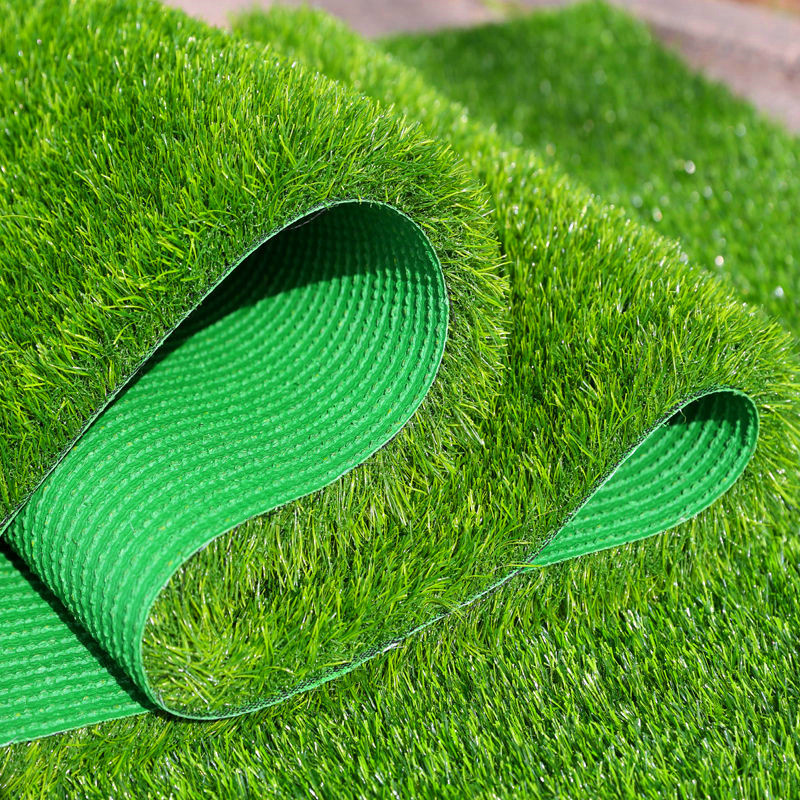
1. Artificial grass roll or pieces
2. Adhesive suitable for outdoor use (usually a strong adhesive or turf glue)
3. Trowel or putty knife
4. Measuring tape
5. Utility knife or scissors
6. Safety goggles and gloves
7. Sandpaper (optional)
8. Cleaning supplies (soap, water, brush)
9. Painter’s tape (for marking)
Step-by-Step Installation:
1. Clean the Wall:
– Start by thoroughly cleaning the concrete wall surface where you plan to install the artificial grass. Remove any dirt, dust, debris, or loose paint. You may need to use soap, water, and a brush to ensure it’s clean.
2. Inspect and Repair:
– Inspect the wall for any cracks, holes, or imperfections. If necessary, repair and smooth the surface using appropriate concrete patching materials. Allow the repairs to fully cure before proceeding.
3. Measure and Cut the Artificial Grass:
– Measure the dimensions of the wall area where you want to install the artificial grass. Cut the artificial grass to the required size using a utility knife or scissors. Make precise cuts for a clean edge.
4. Prepare the Artificial Grass:
– If the back of the artificial grass has a rubber or fabric backing, roughen it up with sandpaper to improve adhesive bonding. This step is optional but can enhance adhesion.
5. Mark the Installation Area:
– Use painter’s tape to mark the exact area where you’ll be applying the adhesive. This helps ensure neat and accurate placement.
6. Apply Adhesive:
– Apply a generous amount of adhesive to the back of the artificial grass or directly onto the marked wall area. Follow the manufacturer’s instructions for the specific adhesive you’re using. Typically, you’ll spread the adhesive evenly using a trowel or putty knife.
7. Position the Artificial Grass:
– Carefully press the cut artificial grass onto the adhesive-covered wall, starting from one end and working your way to the other. Ensure that it adheres firmly without any wrinkles or bubbles. Apply firm and even pressure as you go.
8. Trim Excess:
– Trim any excess artificial grass along the edges using a utility knife or scissors. Make precise cuts to match the wall’s contours.
9. Allow to Cure:
– Let the adhesive cure as per the manufacturer’s instructions. This typically takes several hours to a day, depending on the adhesive used and weather conditions.
10. Finishing Touches:
– Once the adhesive is fully cured, inspect the installation for any loose edges or areas that need additional adhesive. Make any necessary touch-ups.
11. Optional Maintenance:
– Depending on the design and purpose, you may want to incorporate an irrigation system for watering your vertical garden or green wall.
12. Enjoy Your Vertical Garden:
– Your artificial grass wall is now installed and ready to enhance your outdoor space with greenery.
Installing artificial grass on a concrete wall can be a creative and visually appealing project, but it does require attention to detail and proper adhesive application for a secure and long-lasting result.