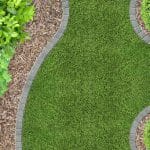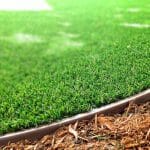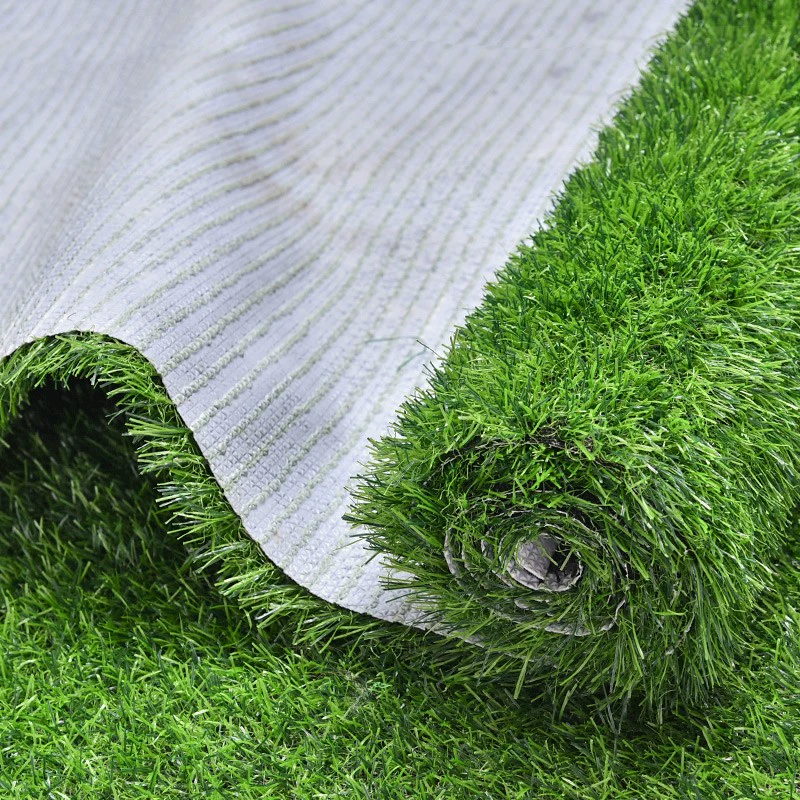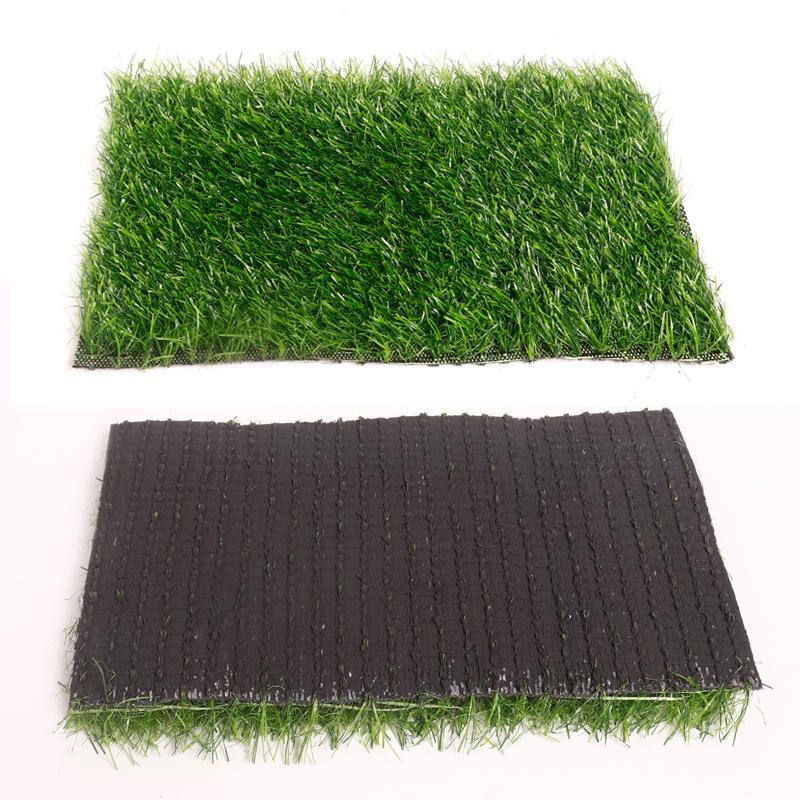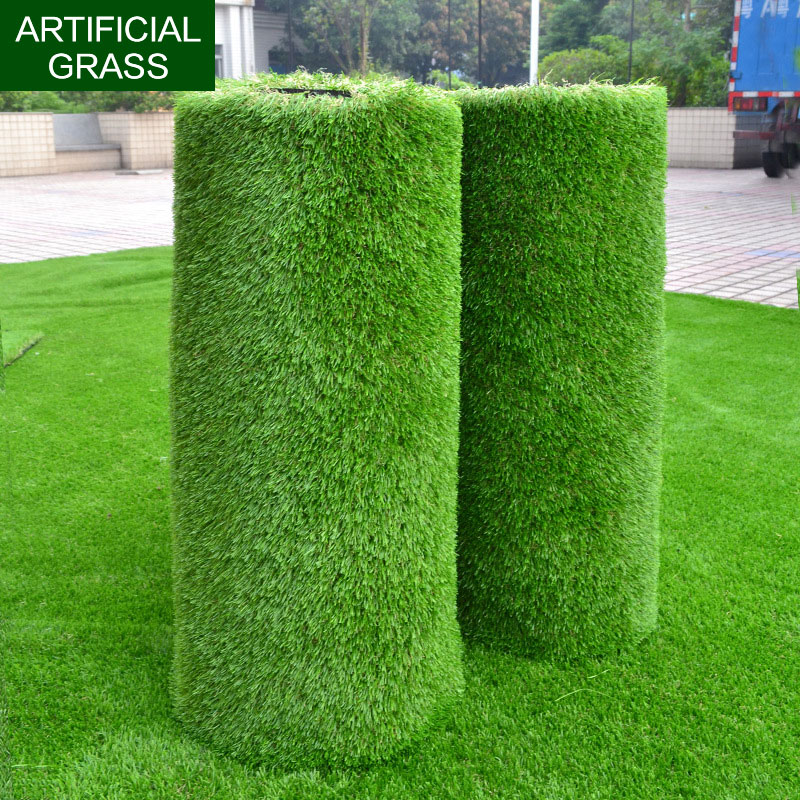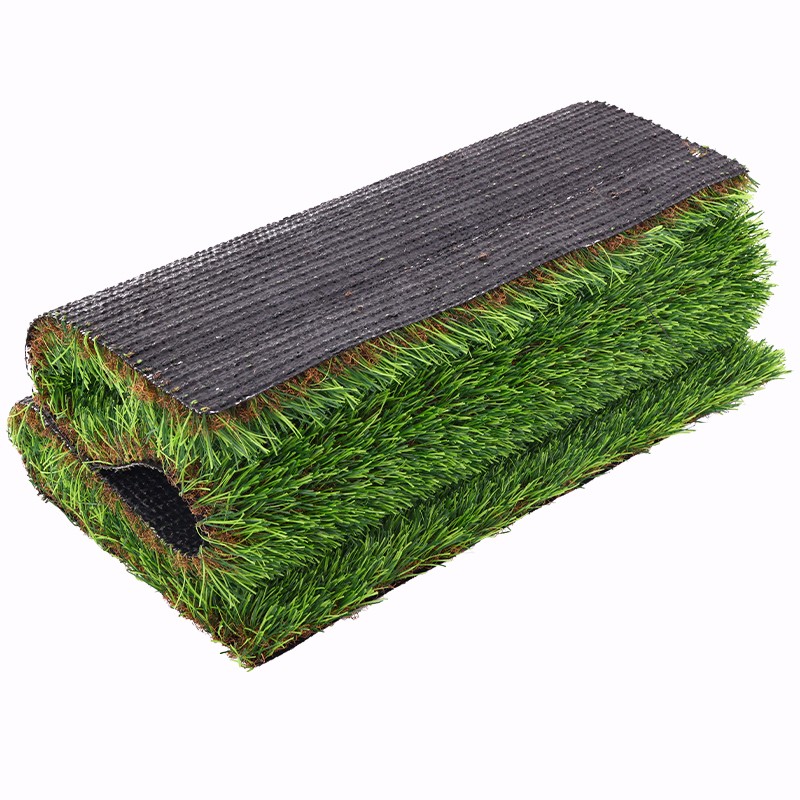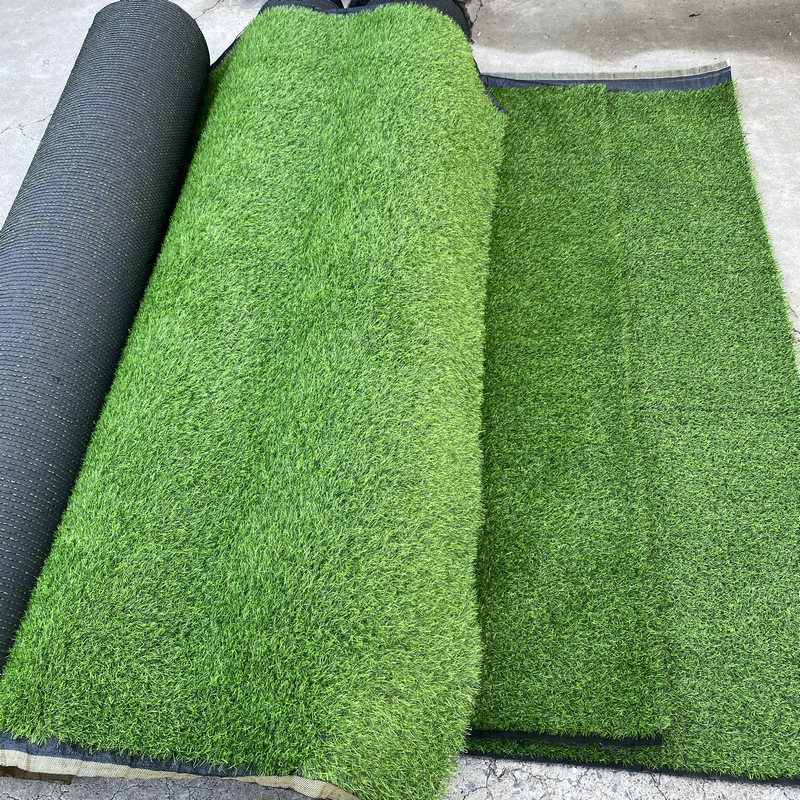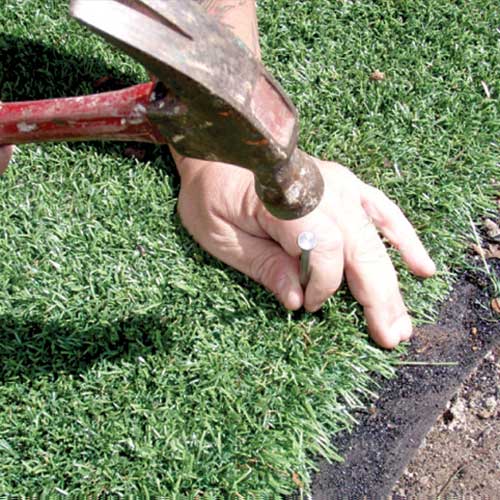
Securing artificial grass to soil is an important step in the installation process to ensure that the turf remains in place and looks well-maintained. Here are the steps to secure artificial grass to soil:
Materials You’ll Need:
– Artificial grass
– Weed membrane fabric
– Ground anchors or U-shaped pins
– Adhesive (optional)
– Sand infill (optional)
Steps:
1. Prepare the Soil:
Start by preparing the soil where you intend to install the artificial grass. Clear the area of any debris, rocks, or weeds. Ensure the soil is compacted and even. You can use a compactor or roller to achieve a smooth surface.
2. Lay Weed Membrane Fabric:
Before installing the artificial grass, it’s a good idea to lay down a weed membrane fabric to prevent weed growth through the turf. Trim the fabric to fit the area and secure it to the soil using ground anchors or U-shaped pins. Overlap the seams and secure them as well.
3. Roll Out the Artificial Grass:
Roll out the artificial grass over the prepared area. Ensure it’s properly aligned and fits the space. If necessary, trim the edges to fit. It’s essential to have a slight overhang (around 1-2 inches) around the edges.
4. Secure the Perimeter:
Once the grass is in place, secure the perimeter by using ground anchors or U-shaped pins. Space the anchors or pins about every 12 inches along the edges. Make sure they go through the grass and the weed membrane fabric, penetrating into the soil.
5. Seam Joints (If Necessary):
If you’re working with multiple pieces of artificial grass and need to seam them together, follow the manufacturer’s guidelines for adhesive application. Apply adhesive to the seam tape or glue provided and join the pieces of turf. Ensure a snug fit with no gaps.
6. Infill (Optional):
Some artificial grass installations may benefit from infill sand. This helps keep the blades upright, adds weight to the grass, and improves drainage. If you decide to use infill, spread it evenly across the surface and brush it into the turf with a stiff broom. Make sure it settles into the grass fibers.
7. Brush and Compact:
To help the artificial grass settle and ensure an even surface, use a stiff brush or broom to brush against the grain of the turf. This will help the blades stand up. If you have infill, brushing will help distribute it evenly. If you don’t have a brush, you can rent a power broom for this purpose.
8. Enjoy Your Artificial Lawn:
Once you’ve secured the artificial grass and completed any other necessary steps, your artificial lawn should be secure, stable, and ready for use.
Here are some tips for properly securing artificial grass to soil:
– Clear the area of any rocks, roots or debris. Level soil for an even base.
– Dig a small trench around the perimeter to allow turf edges to be buried for stability.
– Partially backfill the trench with a layer of crushed gravel to aid drainage under the turf.
– Unroll turf and cut to fit shape. Fold edges into trench and secure with landscaping turf staples every 6 inches.
– Use a mallet to hammer turf staples until flush with soil. Angle staples to pin edges firmly in place.
– Alternately, nail sturdy wooden stakes around perimeter and tie synthetic grass to them with rope at intervals.
– Infill any gaps between seams with leftover turf pieces to prevent soil from showing. Adhere with liquid turf seaming glue.
– Spread silicone caulk along seams for added adhesion and to prevent moisture seepage under grass.
– Over time, natural settling and erosion will loosen edges. Check periodically and hammer staples back down.
Properly securing artificial grass to the soil is crucial for its longevity and appearance. Ensure that the grass is tightly anchored along the edges and that it’s free of wrinkles or folds. Regular maintenance, including brushing to keep the blades upright, will also help maintain your artificial lawn’s appearance.


