When installing artificial grass, achieving a seamless and professional look is crucial for a long-lasting and visually appealing result. Properly seaming the turf is a critical step in the process. In this comprehensive guide, we will provide you with clear and detailed instructions to create a flawless artificial turf seam, ensuring your project’s success.
Step 1: Measure and Prepare
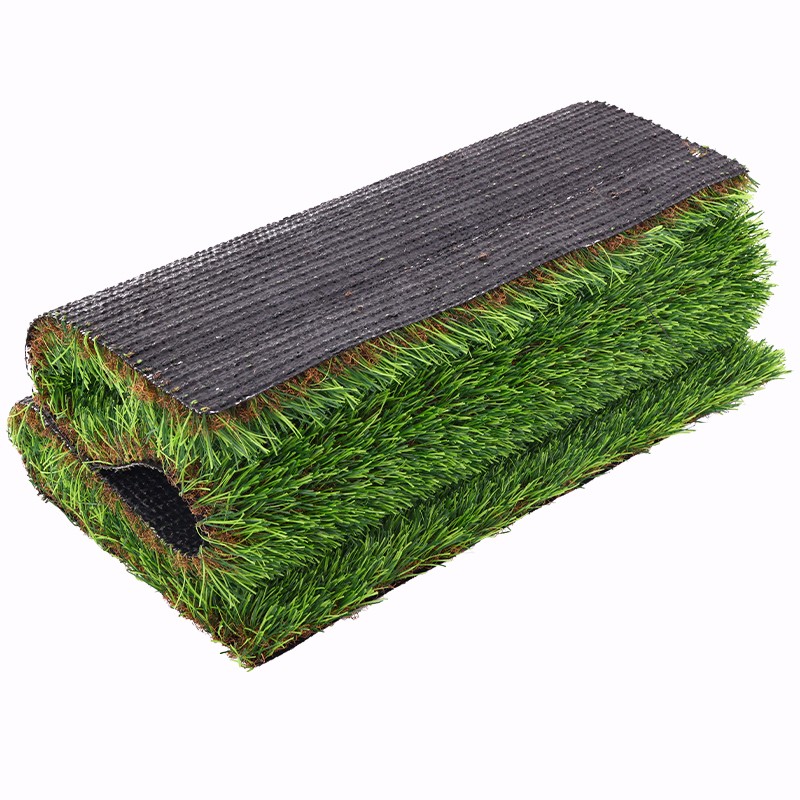
Before starting the seaming process, accurately measure the area where the artificial turf will be installed. Cut the turf rolls according to the measurements, leaving a slight overlap (around 1-2 inches) on the edges where they will be seamed together.
Step 2: Remove Excess Tufts
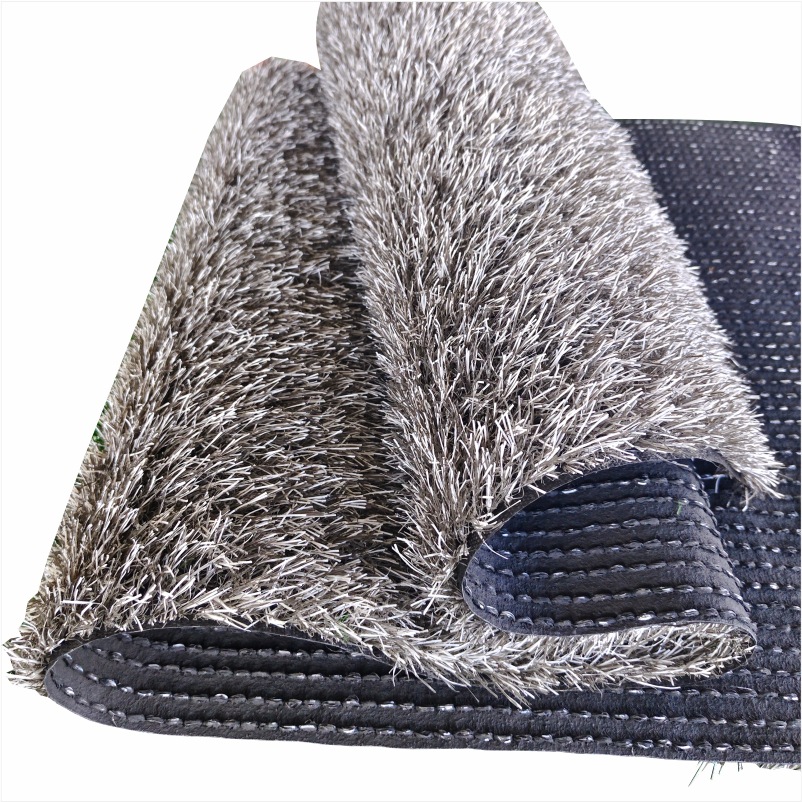
To create a smooth surface for joining, carefully remove 3 to 5 tufts along the seam edges of both turf pieces. This will minimize excess backing and help the turf pieces fit together seamlessly.
Step 3: Align the Turf Pieces
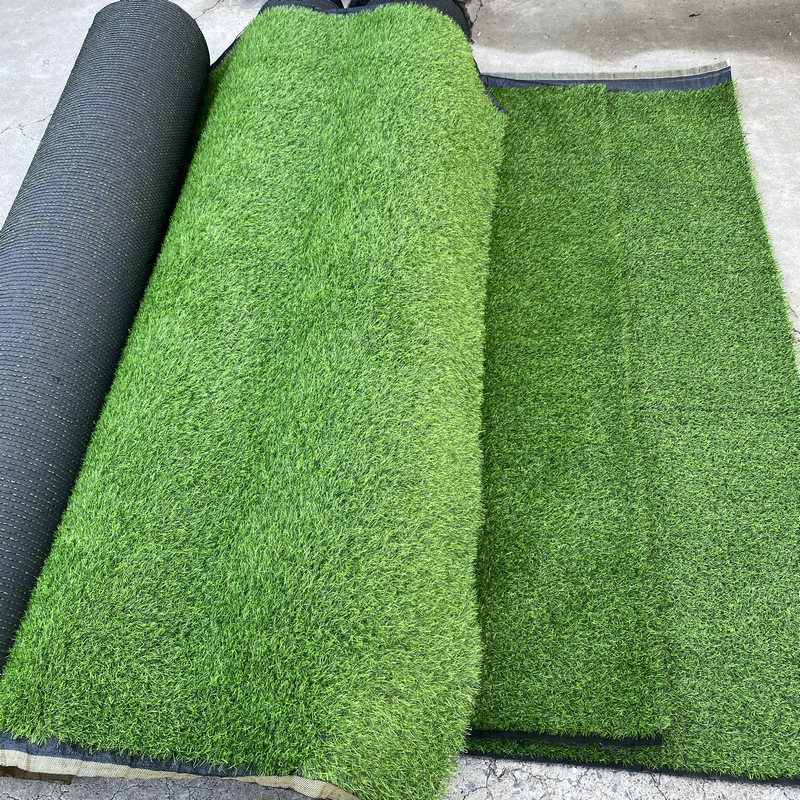
Place the second roll of turf as close to its desired position as possible, ensuring the tufts align evenly. Use marking chalk or stakes to outline the seam area for better alignment.
Step 4: Apply Seam Tape and Glue
Lay high-quality artificial grass seam tape evenly along the seam area, covering the entire length. Apply a thin and consistent coat of artificial grass adhesive over the seam tape, avoiding dry spots or puddles.
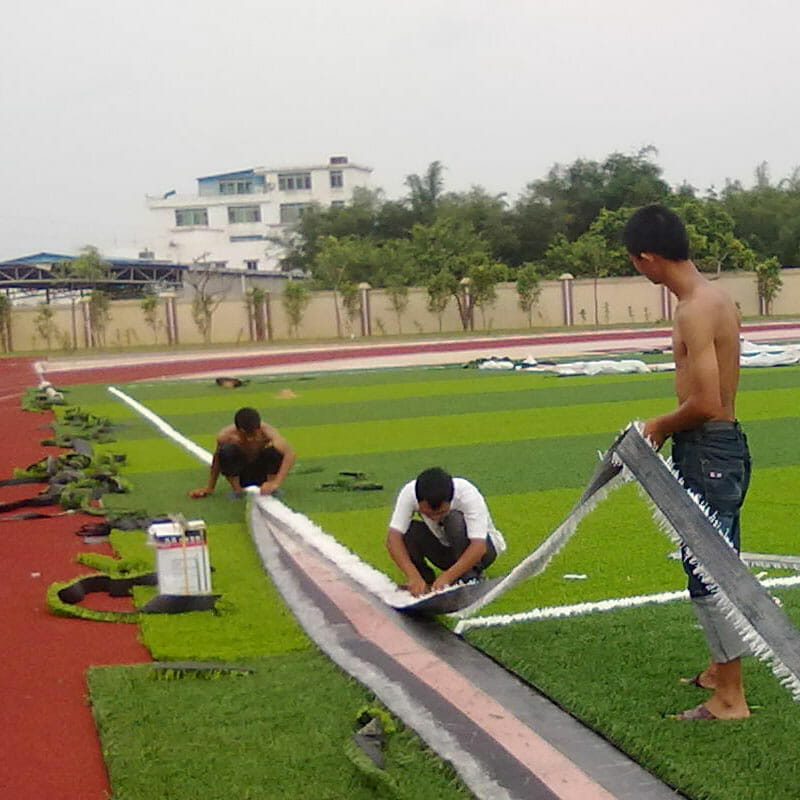
Step 5: Join the Turf Pieces
With the edges cut off, align the turf pieces so that the tufts are evenly spaced throughout your turf. Gently bring the two pieces together like a zipper, keeping the fibers upright and out of the glue. Rub your fingers down the seam to ensure a secure bond.
Step 6: Weight Down the Seams
To help the adhesive set properly, place 12-inch wide strips of wood along the seam and weigh them down with bags of infill for about 45-60 minutes per seam.
Step 7: Allow to Dry
After seaming, allow the adhesive to cure and dry completely before walking or placing any weight on the seam. This typically takes around 24 hours, depending on weather conditions.
Why is Seaming Artificial Turf Important?
Seaming artificial turf is essential for a few reasons:
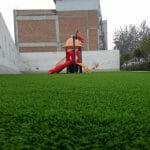
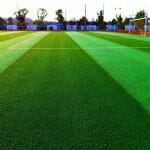
1. Aesthetics: Seaming artificial turf creates a seamless and natural-looking surface, which enhances the overall appearance of the installation.
2. Durability: Proper seaming ensures that the turf is securely attached, preventing it from shifting or separating over time, which can lead to uneven surfaces, tripping hazards, and reduced lifespan.
3. Safety: A well-seamed artificial turf provides a safe and even surface for users, reducing the risk of injuries caused by uneven or loose turf.
Conclusion:
By following these step-by-step instructions, you can achieve a clean, invisible, and long-lasting seam in your artificial turf installation. Proper seaming is essential for maintaining the integrity and aesthetics of your synthetic grass lawn. With the right techniques and attention to detail, you can create a stunning and low-maintenance outdoor space to enjoy for years to come.