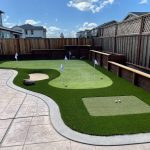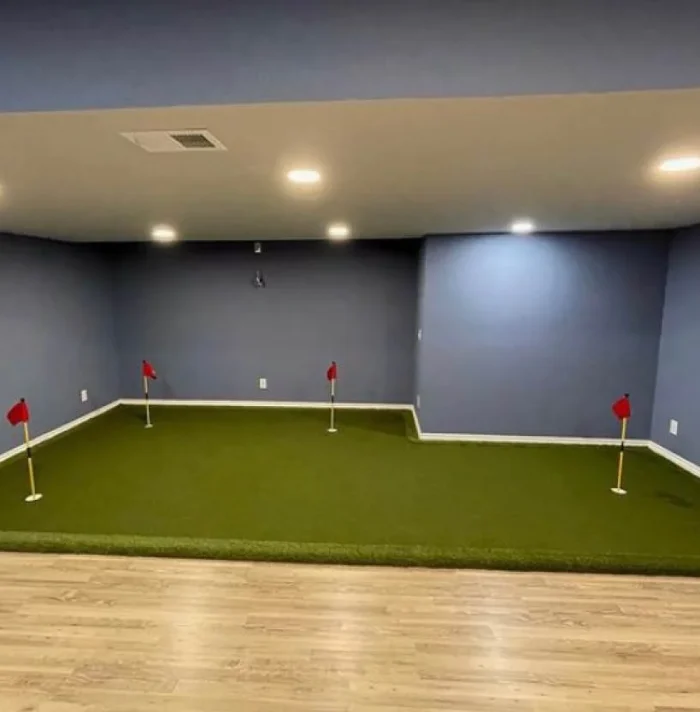
For golf enthusiasts, the opportunity to practice their putting stroke year-round can be a game-changer. An indoor putting green offers the perfect solution, allowing you to hone your skills regardless of weather conditions or time constraints. While professional installations can be costly, a DIY approach can transform a spare room or basement into a personal putting paradise without breaking the bank.
Planning and Preparation Before you start building, it’s essential to plan out the dimensions and layout of your indoor putting green. Measure the available space and determine the size that fits comfortably while still providing enough challenge. Consider incorporating features like contours, breaks, or even small bunkers to simulate real course conditions.
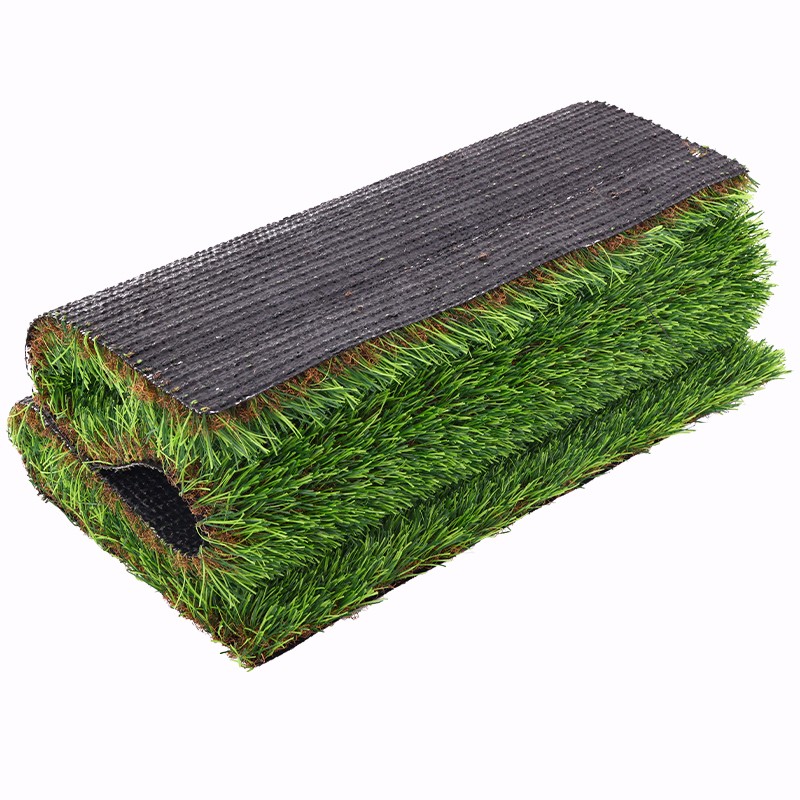
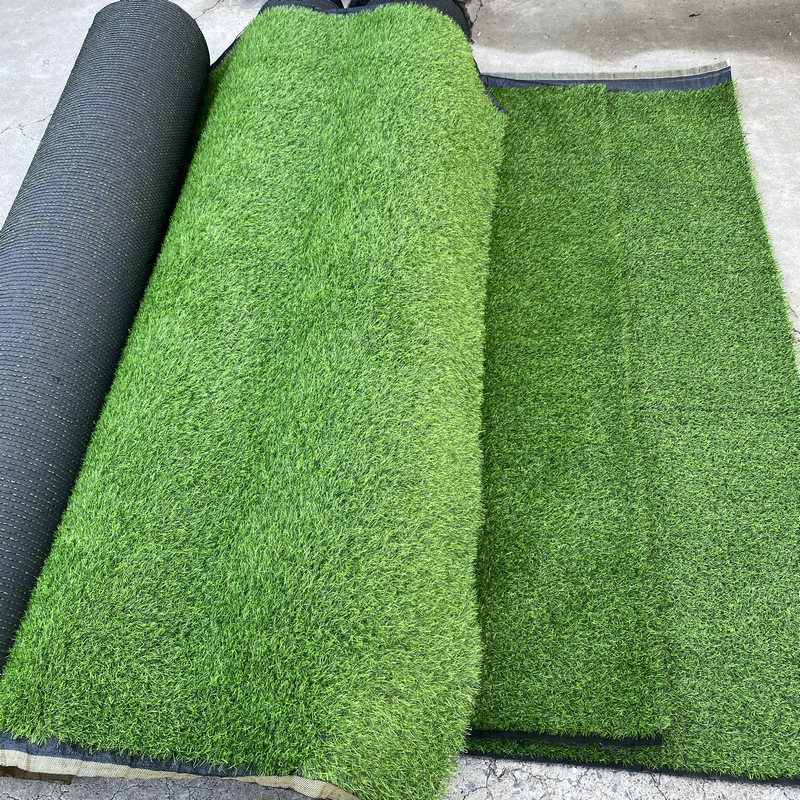
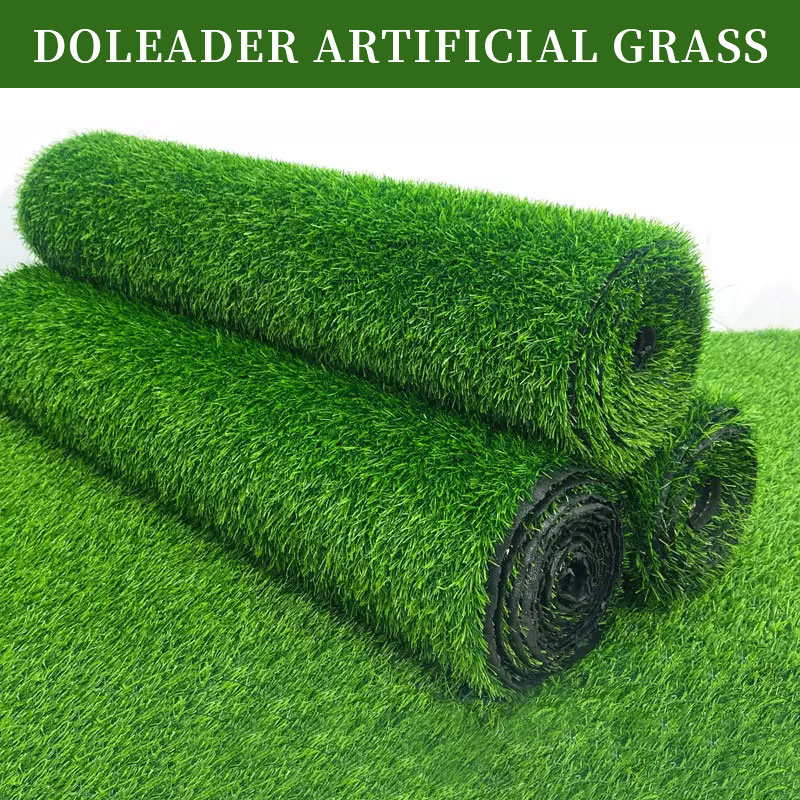
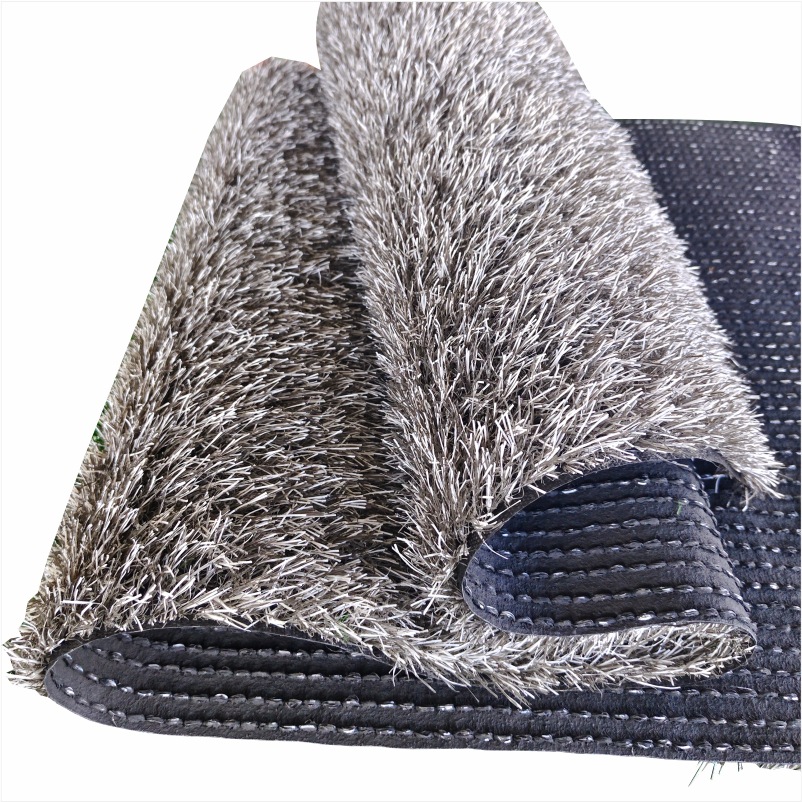
Surface Selection The heart of your indoor putting green will be the surface material. Artificial turf designed specifically for putting greens is the most popular choice, providing a realistic roll and consistent speed. Look for high-quality turf with a dense, short pile and a true-roll characteristic.
Base Layer To ensure a smooth, level surface, you’ll need to create a sturdy base layer. Many DIYers opt for interlocking foam tiles or rubber mats, which provide cushioning and insulation while serving as a foundation for the turf. Alternatively, you can build a raised platform with a plywood or composite surface for a more permanent installation.
Turf Installation Once the base layer is in place, it’s time to install the artificial turf. Carefully measure and cut the turf to fit your designated area, leaving a bit of overlap at the seams. Use a specialized turf adhesive or nailing system to secure the turf to the base layer, ensuring a tight, wrinkle-free surface.
Infill and Finishing Touches To achieve a realistic feel and consistent roll, you’ll need to add infill material to the turf. The most common options are silica sand or rubber crumb, which help to weigh down the fibers and provide a true putting experience. Spread the infill evenly across the surface and brush it into the turf fibers.
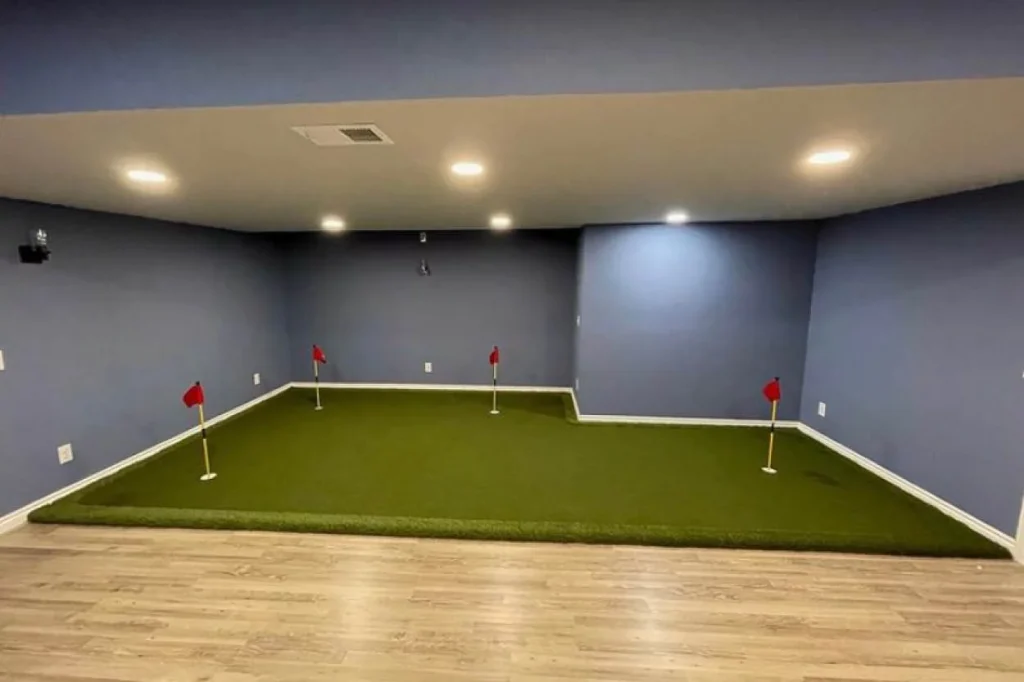
Finally, add any desired finishing touches, such as cup holes, fringe areas, or even small hazards like bunkers or water features. Consider installing lighting for a more immersive golfing experience.
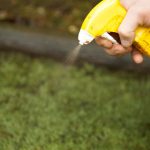
Maintenance Like any putting green, your indoor DIY installation will require regular maintenance. Brush the turf regularly to keep the fibers upright, and vacuum or sweep away any debris that may accumulate. Periodically, you may need to replenish the infill material or give the surface a deep cleaning.
Building your own indoor putting green can be a rewarding DIY project for golf enthusiasts. Not only will you have a convenient practice area at your fingertips, but you’ll also experience the satisfaction of creating it with your own hands. With careful planning, the right materials, and a bit of elbow grease, you can bring the golf course indoors and enjoy perfecting your putting stroke year-round.