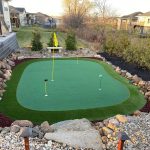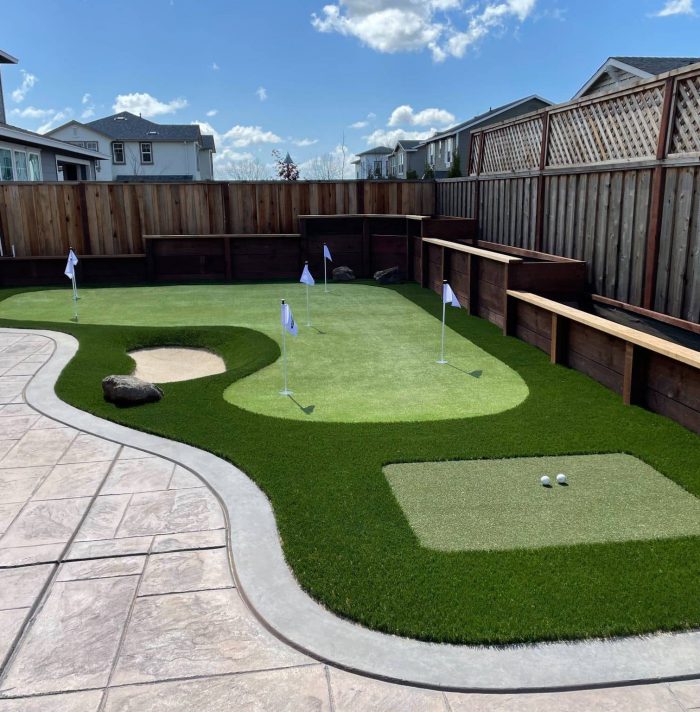
For avid golfers, having a personal putting green right in their backyard is a dream come true. While hiring professionals to install one can be quite expensive, a DIY approach can make this dream more attainable. With some careful planning, hard work, and the right materials, you can transform a section of your backyard into a challenging and enjoyable putting surface.
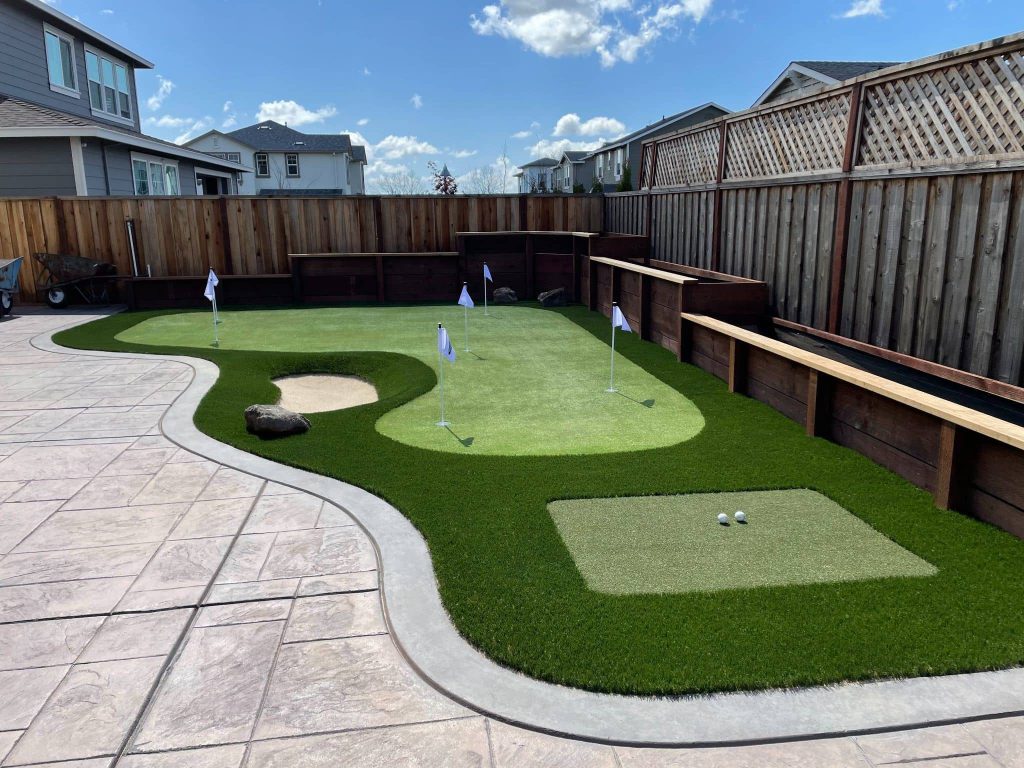
Planning and Design The first step in creating your DIY backyard putting green is to plan and design the layout. Consider the available space, desired size, and any specific features you want to incorporate, such as contours, bunkers, or fringe areas. Sketch out your design and measure the area to ensure accurate material calculations.
Surface Preparation Proper surface preparation is crucial for a smooth, consistent putting surface. Start by removing any existing grass or vegetation from the designated area. Then, grade the soil to create a slightly sloped surface for drainage. Compact the soil thoroughly to provide a stable base.
Base Layer Once the surface is prepared, it’s time to install the base layer. This typically involves laying down a layer of crushed gravel or crushed granite, followed by a layer of sand or fine gravel. The base layer should be compacted and leveled to provide a stable foundation for the artificial turf.
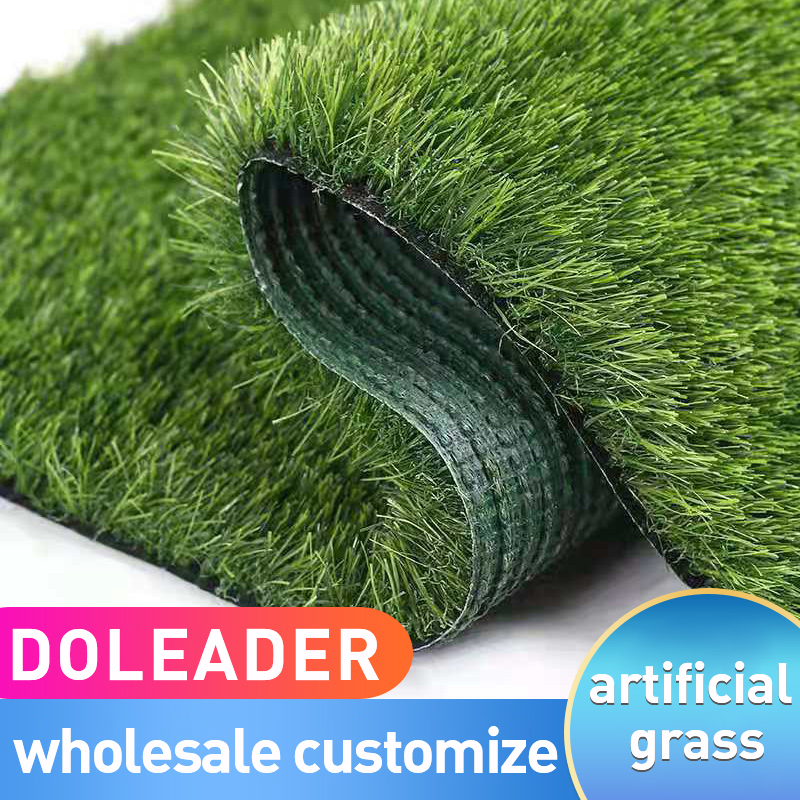
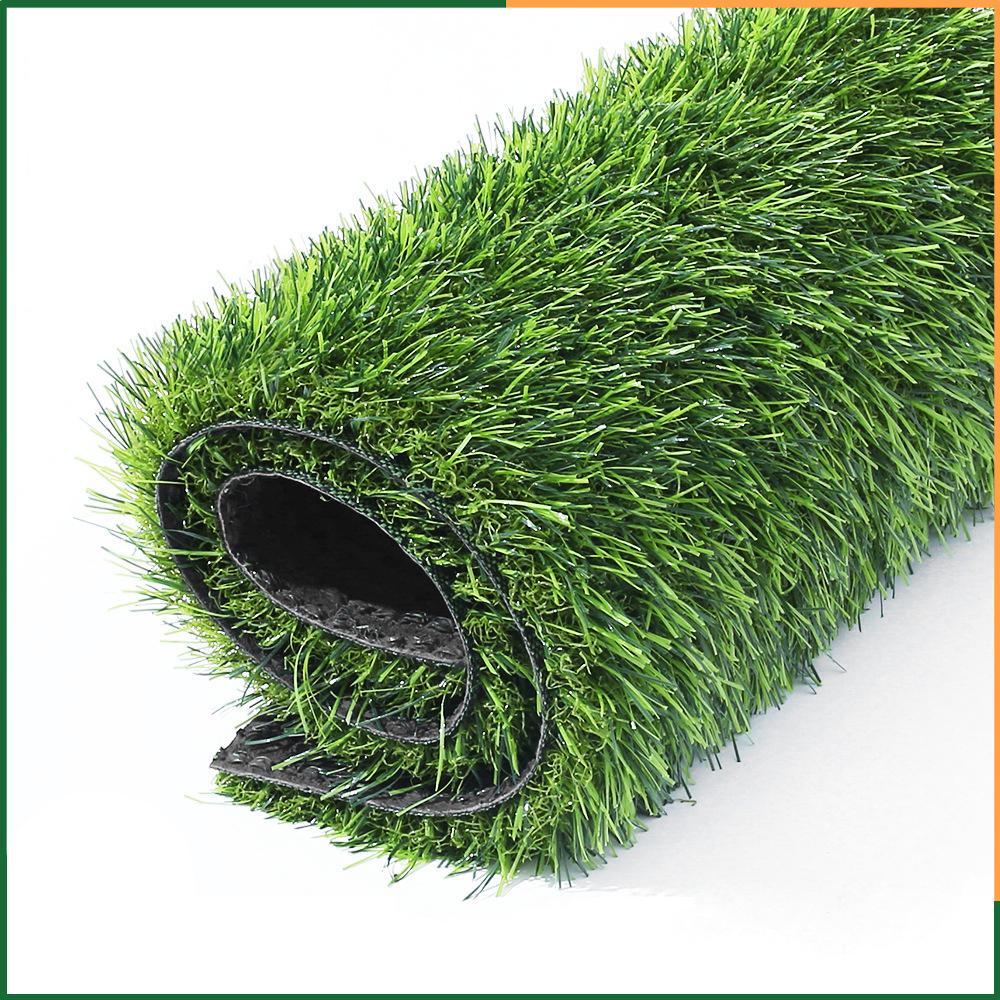
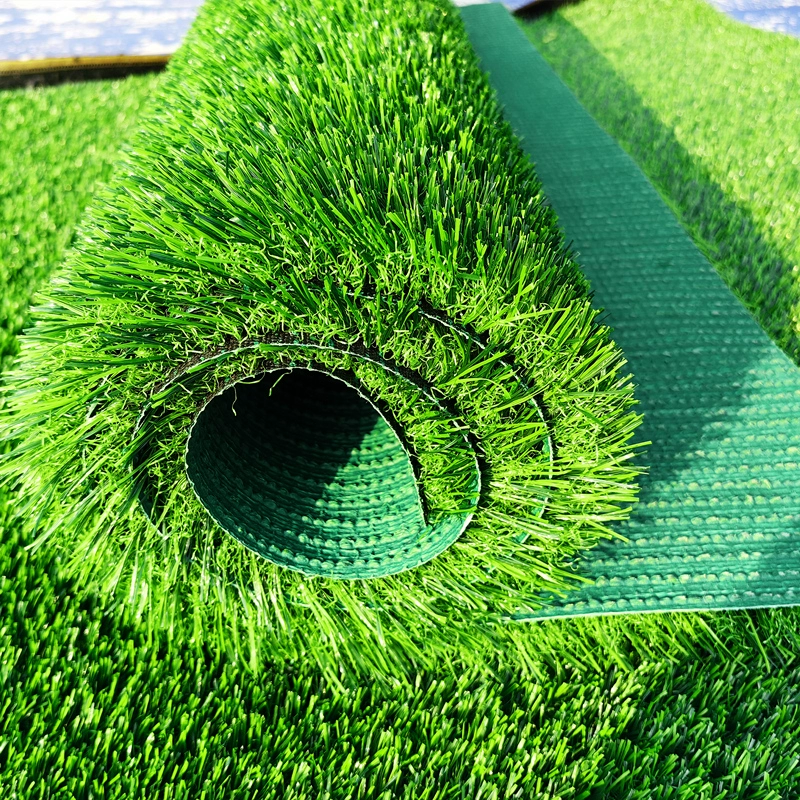
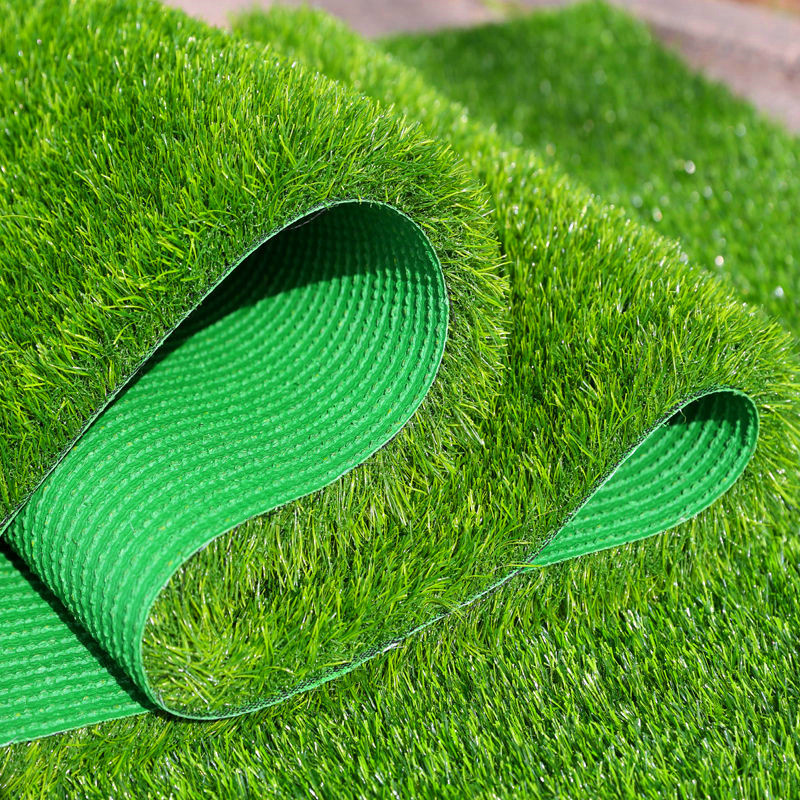
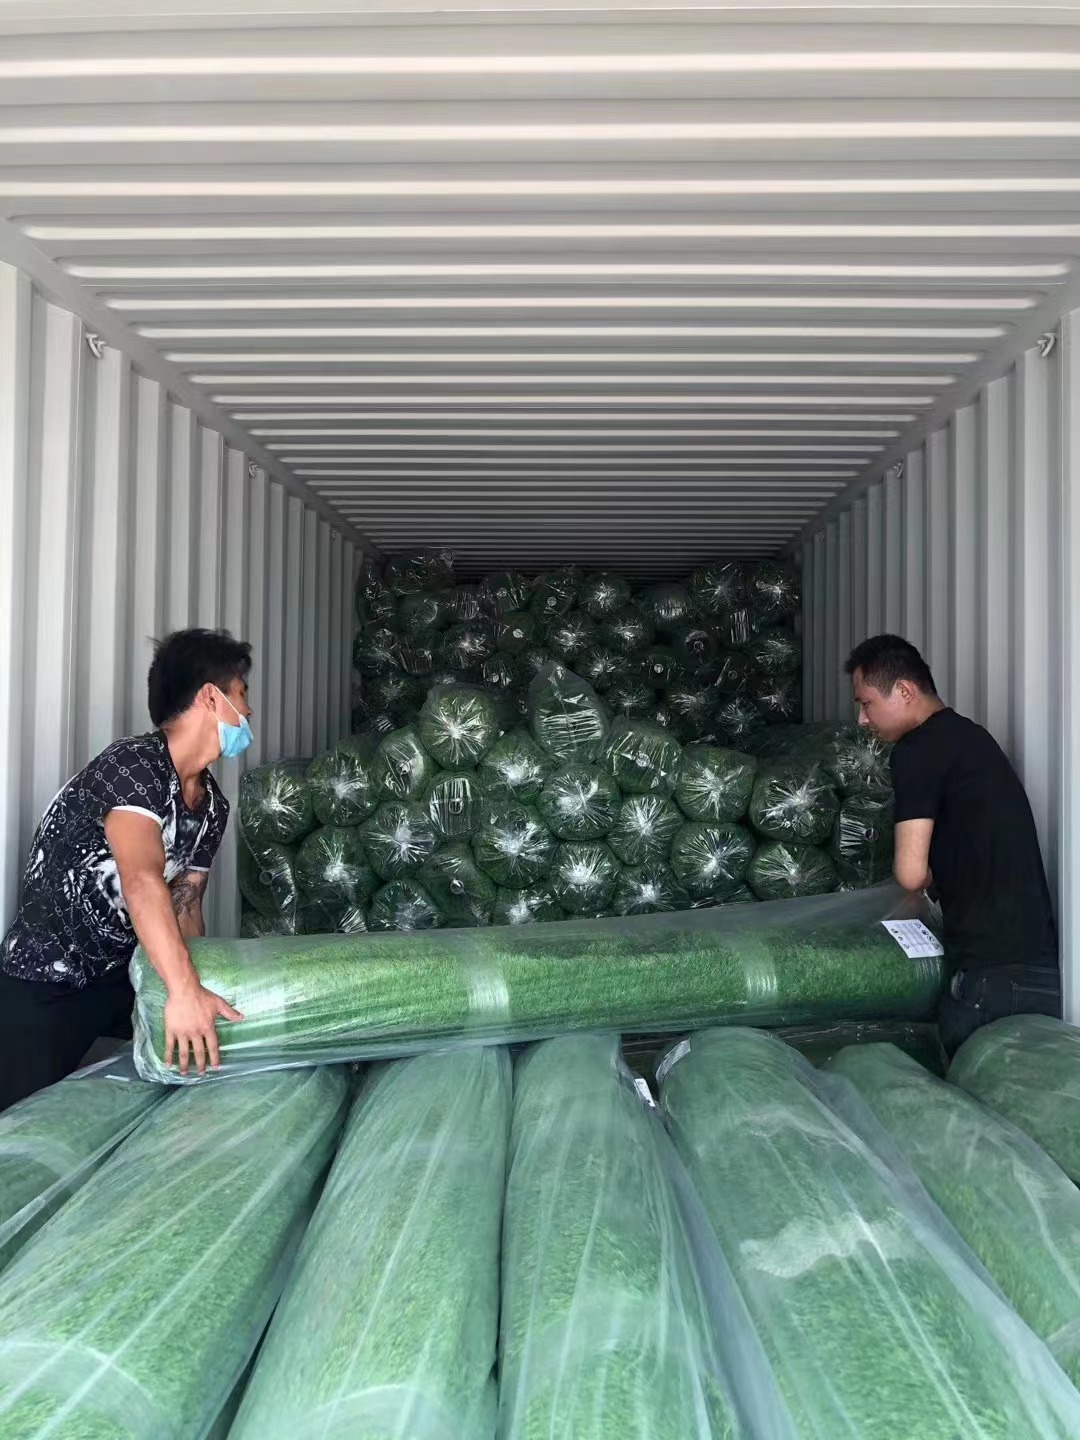
Artificial Turf The heart of your DIY putting green is the artificial turf. Choose a high-quality putting green turf designed specifically for golf. These turfs typically have a shorter pile height and a dense, uniform surface for a true roll. Carefully measure and order the required amount of turf, allowing for some overlap at the seams.
Installation Installing the artificial turf can be a challenging task, but with patience and attention to detail, you can achieve professional-looking results. Start by laying out the turf and cutting it to fit your designated area. Use a specialized turf adhesive or nailing system to secure the turf to the base layer, ensuring a tight, wrinkle-free surface.
Infill and Finishing Touches Once the turf is installed, you’ll need to add infill material, such as sand or rubber crumb, to help the turf stand upright and provide a consistent roll. Carefully spread the infill material evenly across the surface, following the manufacturer’s recommendations.
Finally, add any desired finishing touches, such as landscaping, cup holes, or fringe areas. Consider installing a drainage system to prevent water buildup beneath the turf.
Maintenance Like any putting green, your DIY backyard installation will require regular maintenance. This includes brushing the turf to keep the fibers upright, replenishing infill material as needed, and periodically cleaning the surface to remove debris and prevent matting.
While building a DIY backyard putting green requires substantial effort and attention to detail, the rewards can be immense. Not only will you have a convenient practice area right in your backyard, but you’ll also enjoy the satisfaction of creating it with your own hands. With proper planning, execution, and maintenance, your DIY putting green can provide years of enjoyment for you and your golfing buddies.